
The Shine Forms tablet apps will be available soon. Follow us on LinkedIn, watch our blog, or sign up to our newsletter for updates.
The Main Form
The Main Form section holds the parts of the certificate that describe the installation and the inspection as a whole. Its tabs run along the top of the body: Details, Limitations, Observations, Contractor Details, Supply & Earthing, Inspection Schedule, Declaration and Options.
Two of the tabs are big enough to have their own pages: Observations and the Inspection Schedule. Boards and circuits live in their own sections, Board Manager and Circuits & Tests.
Every field saves as soon as you change it. Fields with a list of standard answers open a picker when you tap them; the others take typed text, numbers or dates.
Details
The Details tab records who the report is for and what it covers. A new certificate opens on this tab.
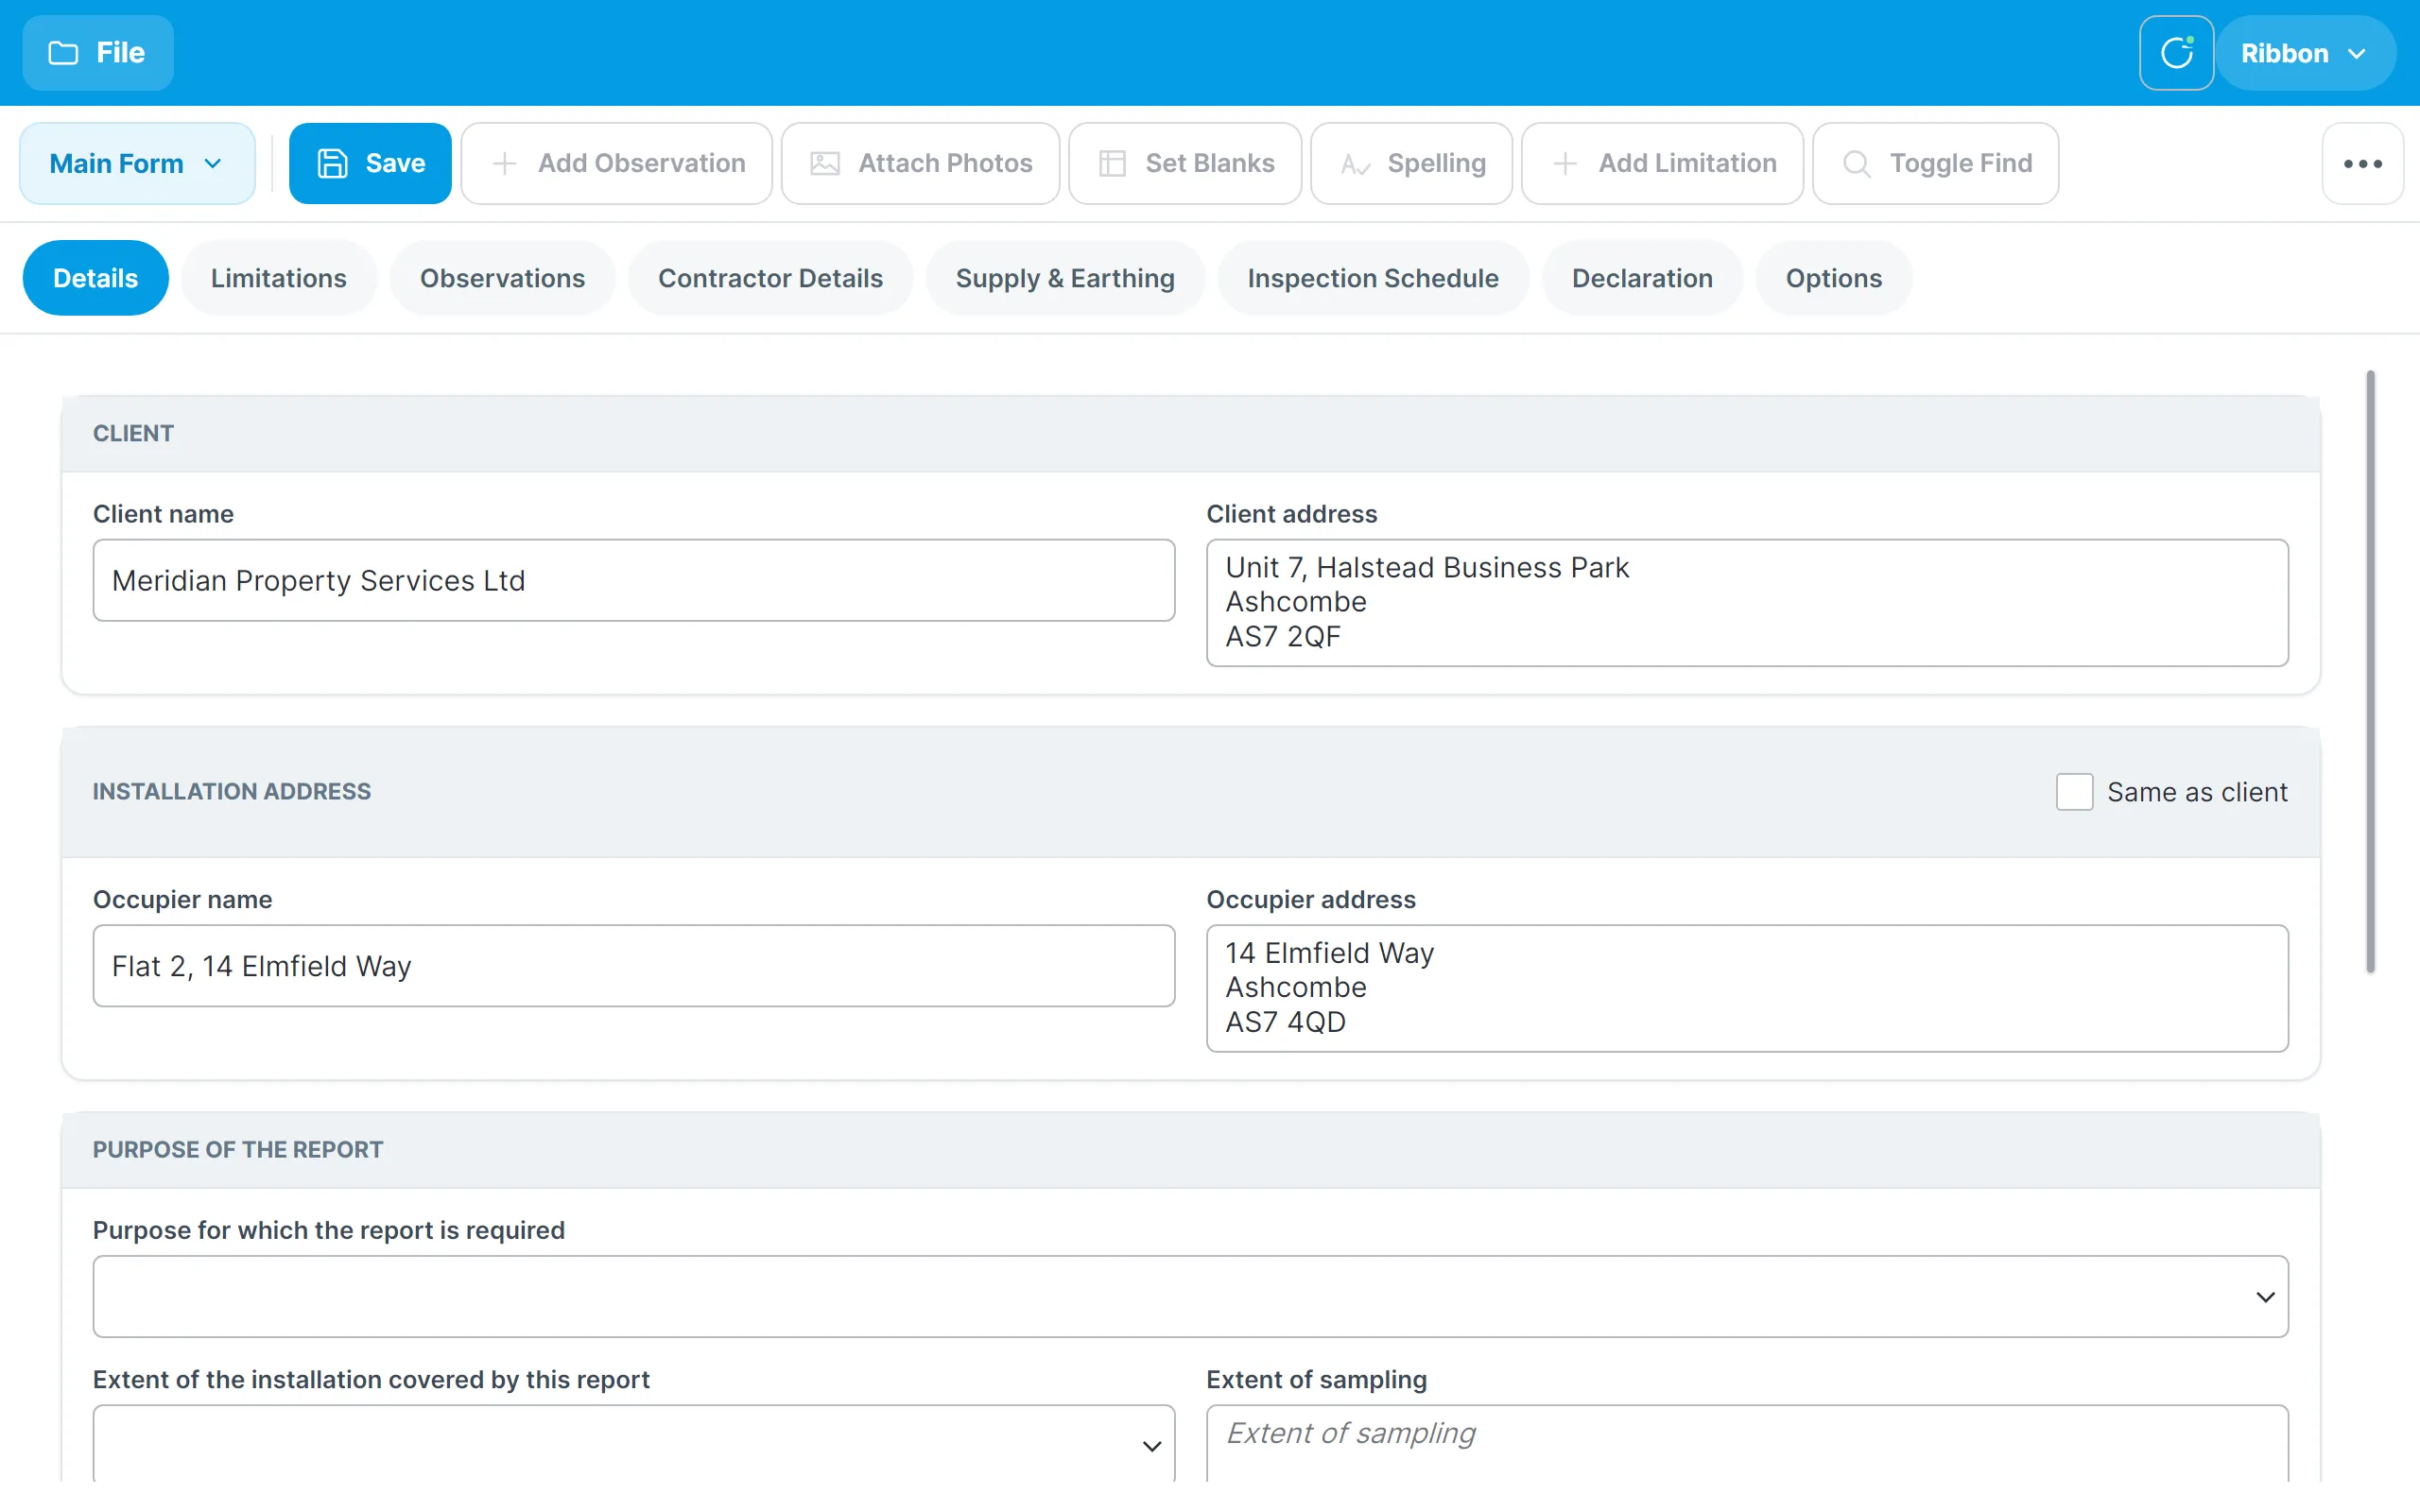
- Client — the name and address of the person or company the report is for.
- Installation address — the occupier and the address of the installation. Tick Same as client to copy the client’s details and keep them in step.
- Purpose of the report — why the report is required, the extent of the installation covered, the extent of sampling, who the limitations were agreed with and any operational limitations.
- Premises & installation — the type of premises (Domestic, Commercial, Industrial or Other), the estimated age of the installation, any evidence of alterations or additions and their age, the date of the previous inspection and whether installation records are available.
Contractor Details
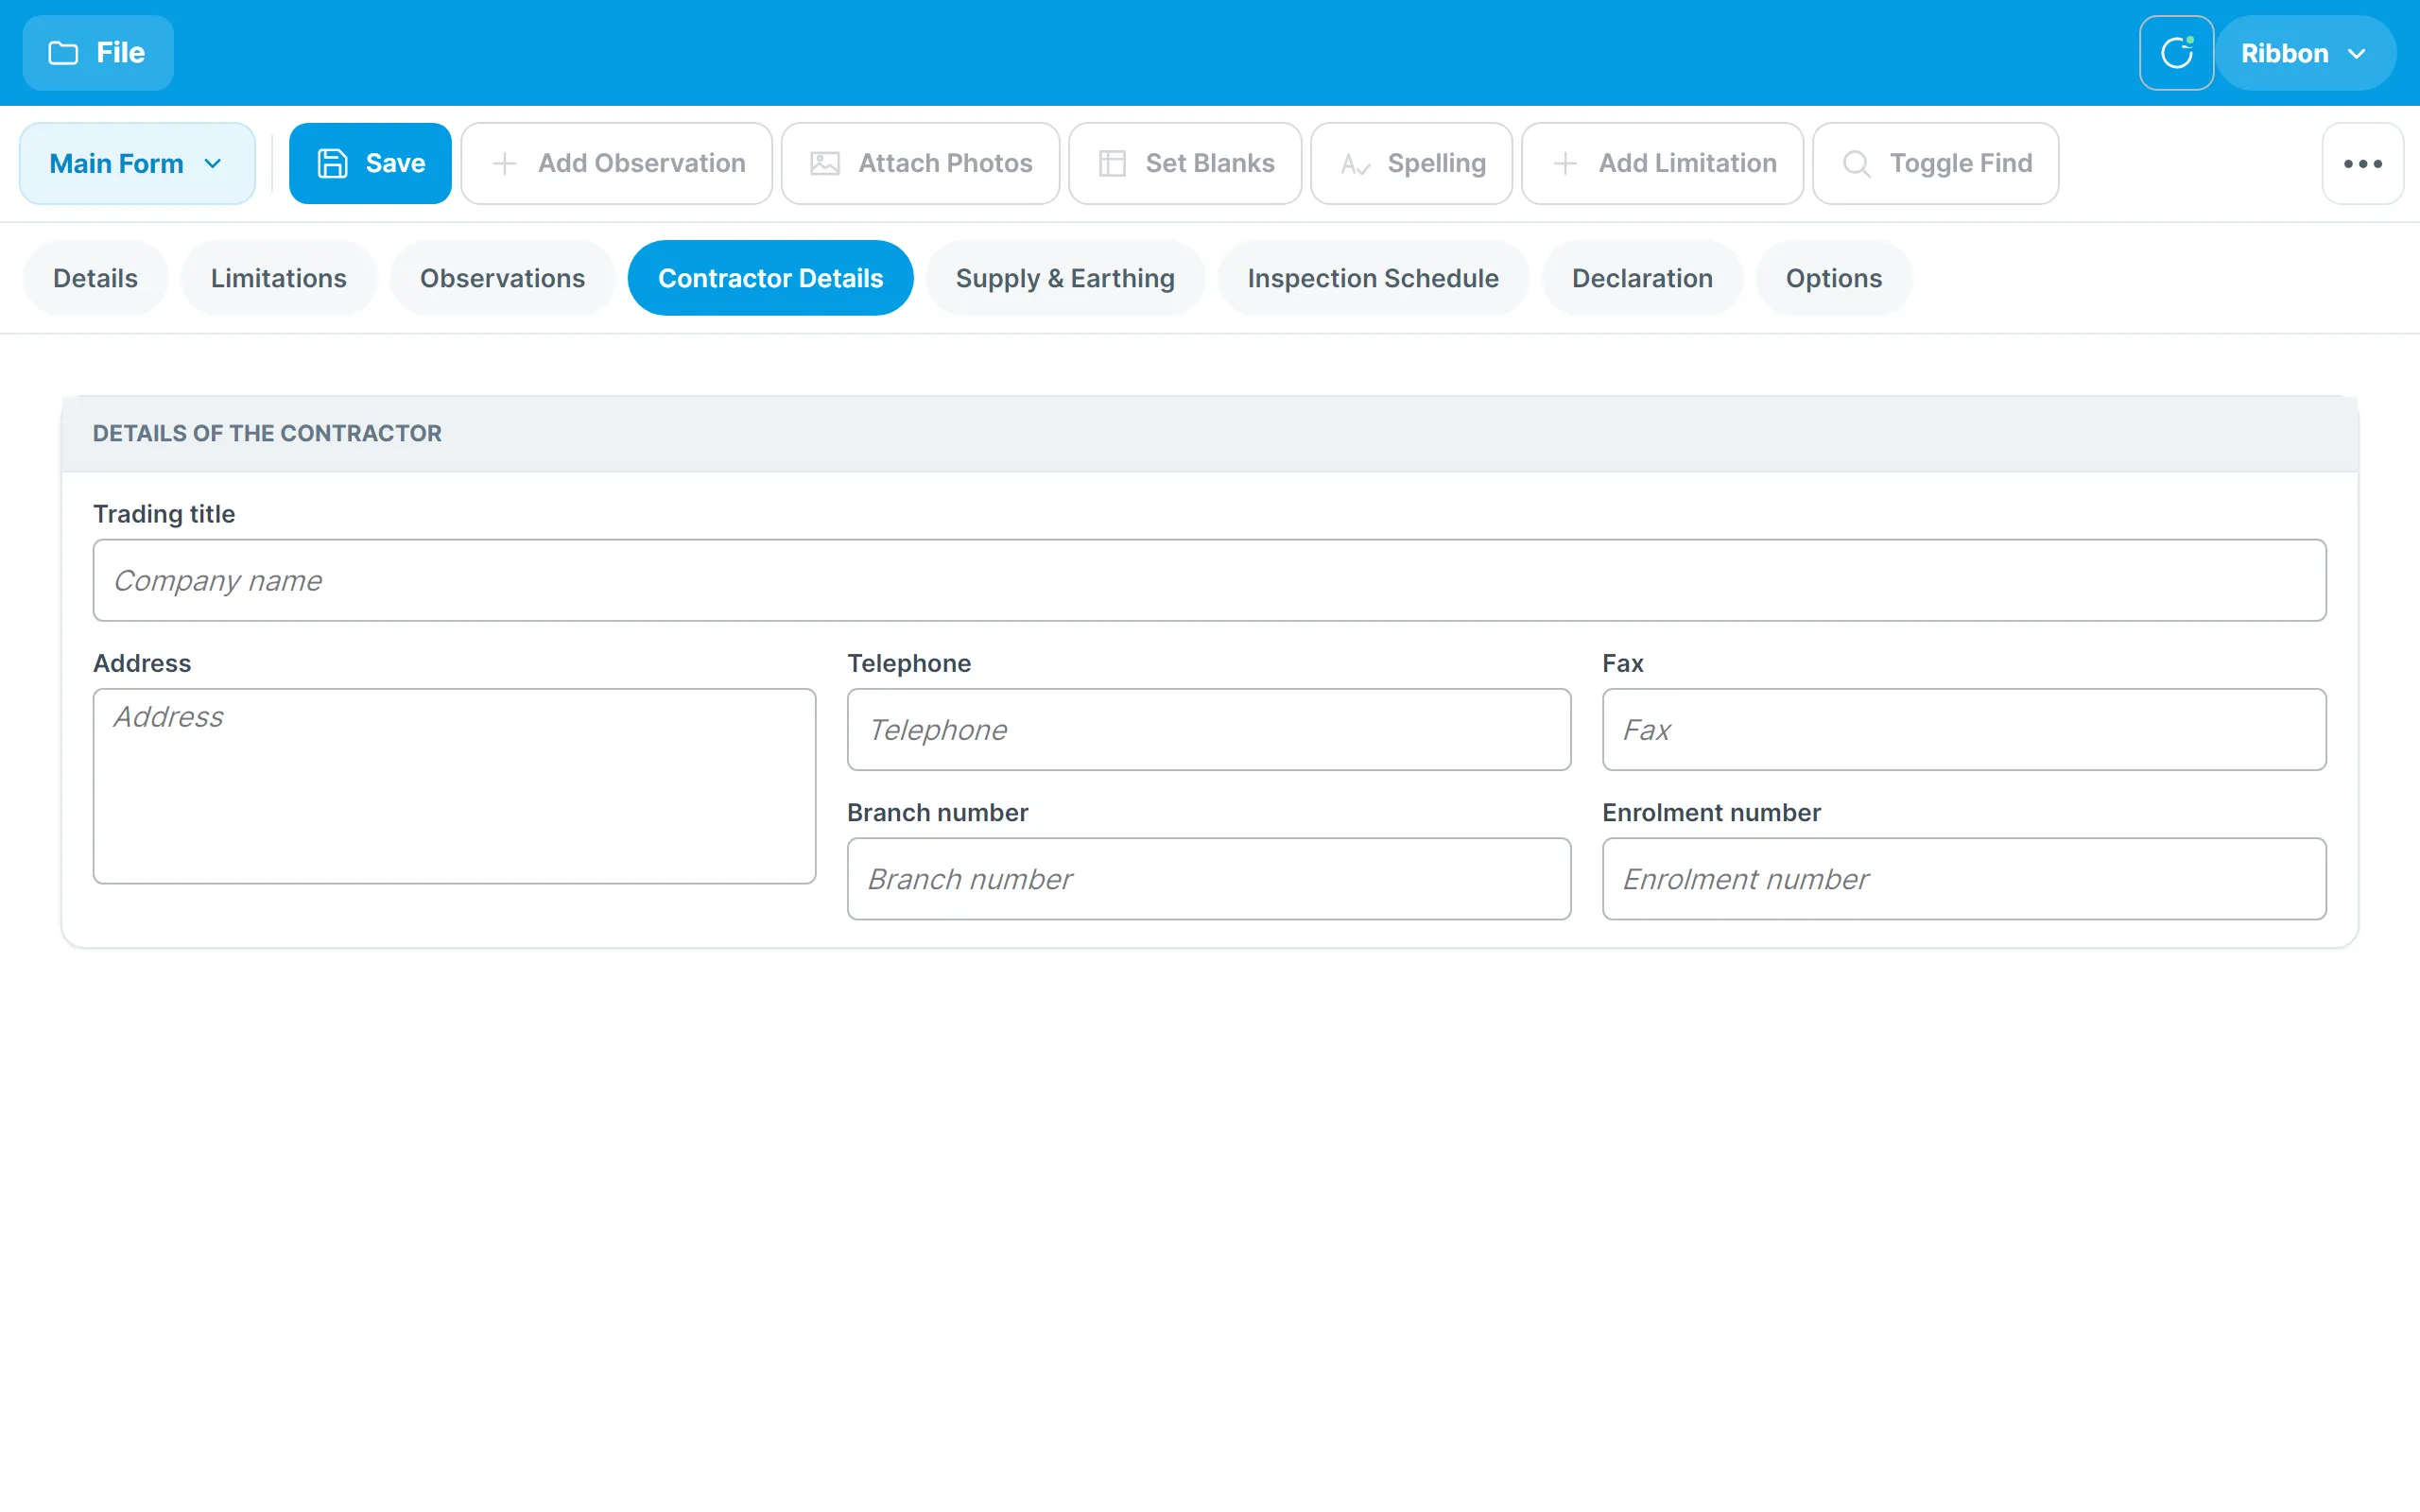
The contractor’s trading title, address, telephone and fax numbers, and the branch and enrolment numbers, as they print on the certificate.
Supply & Earthing
The characteristics of the supply and the earthing arrangements at the origin.
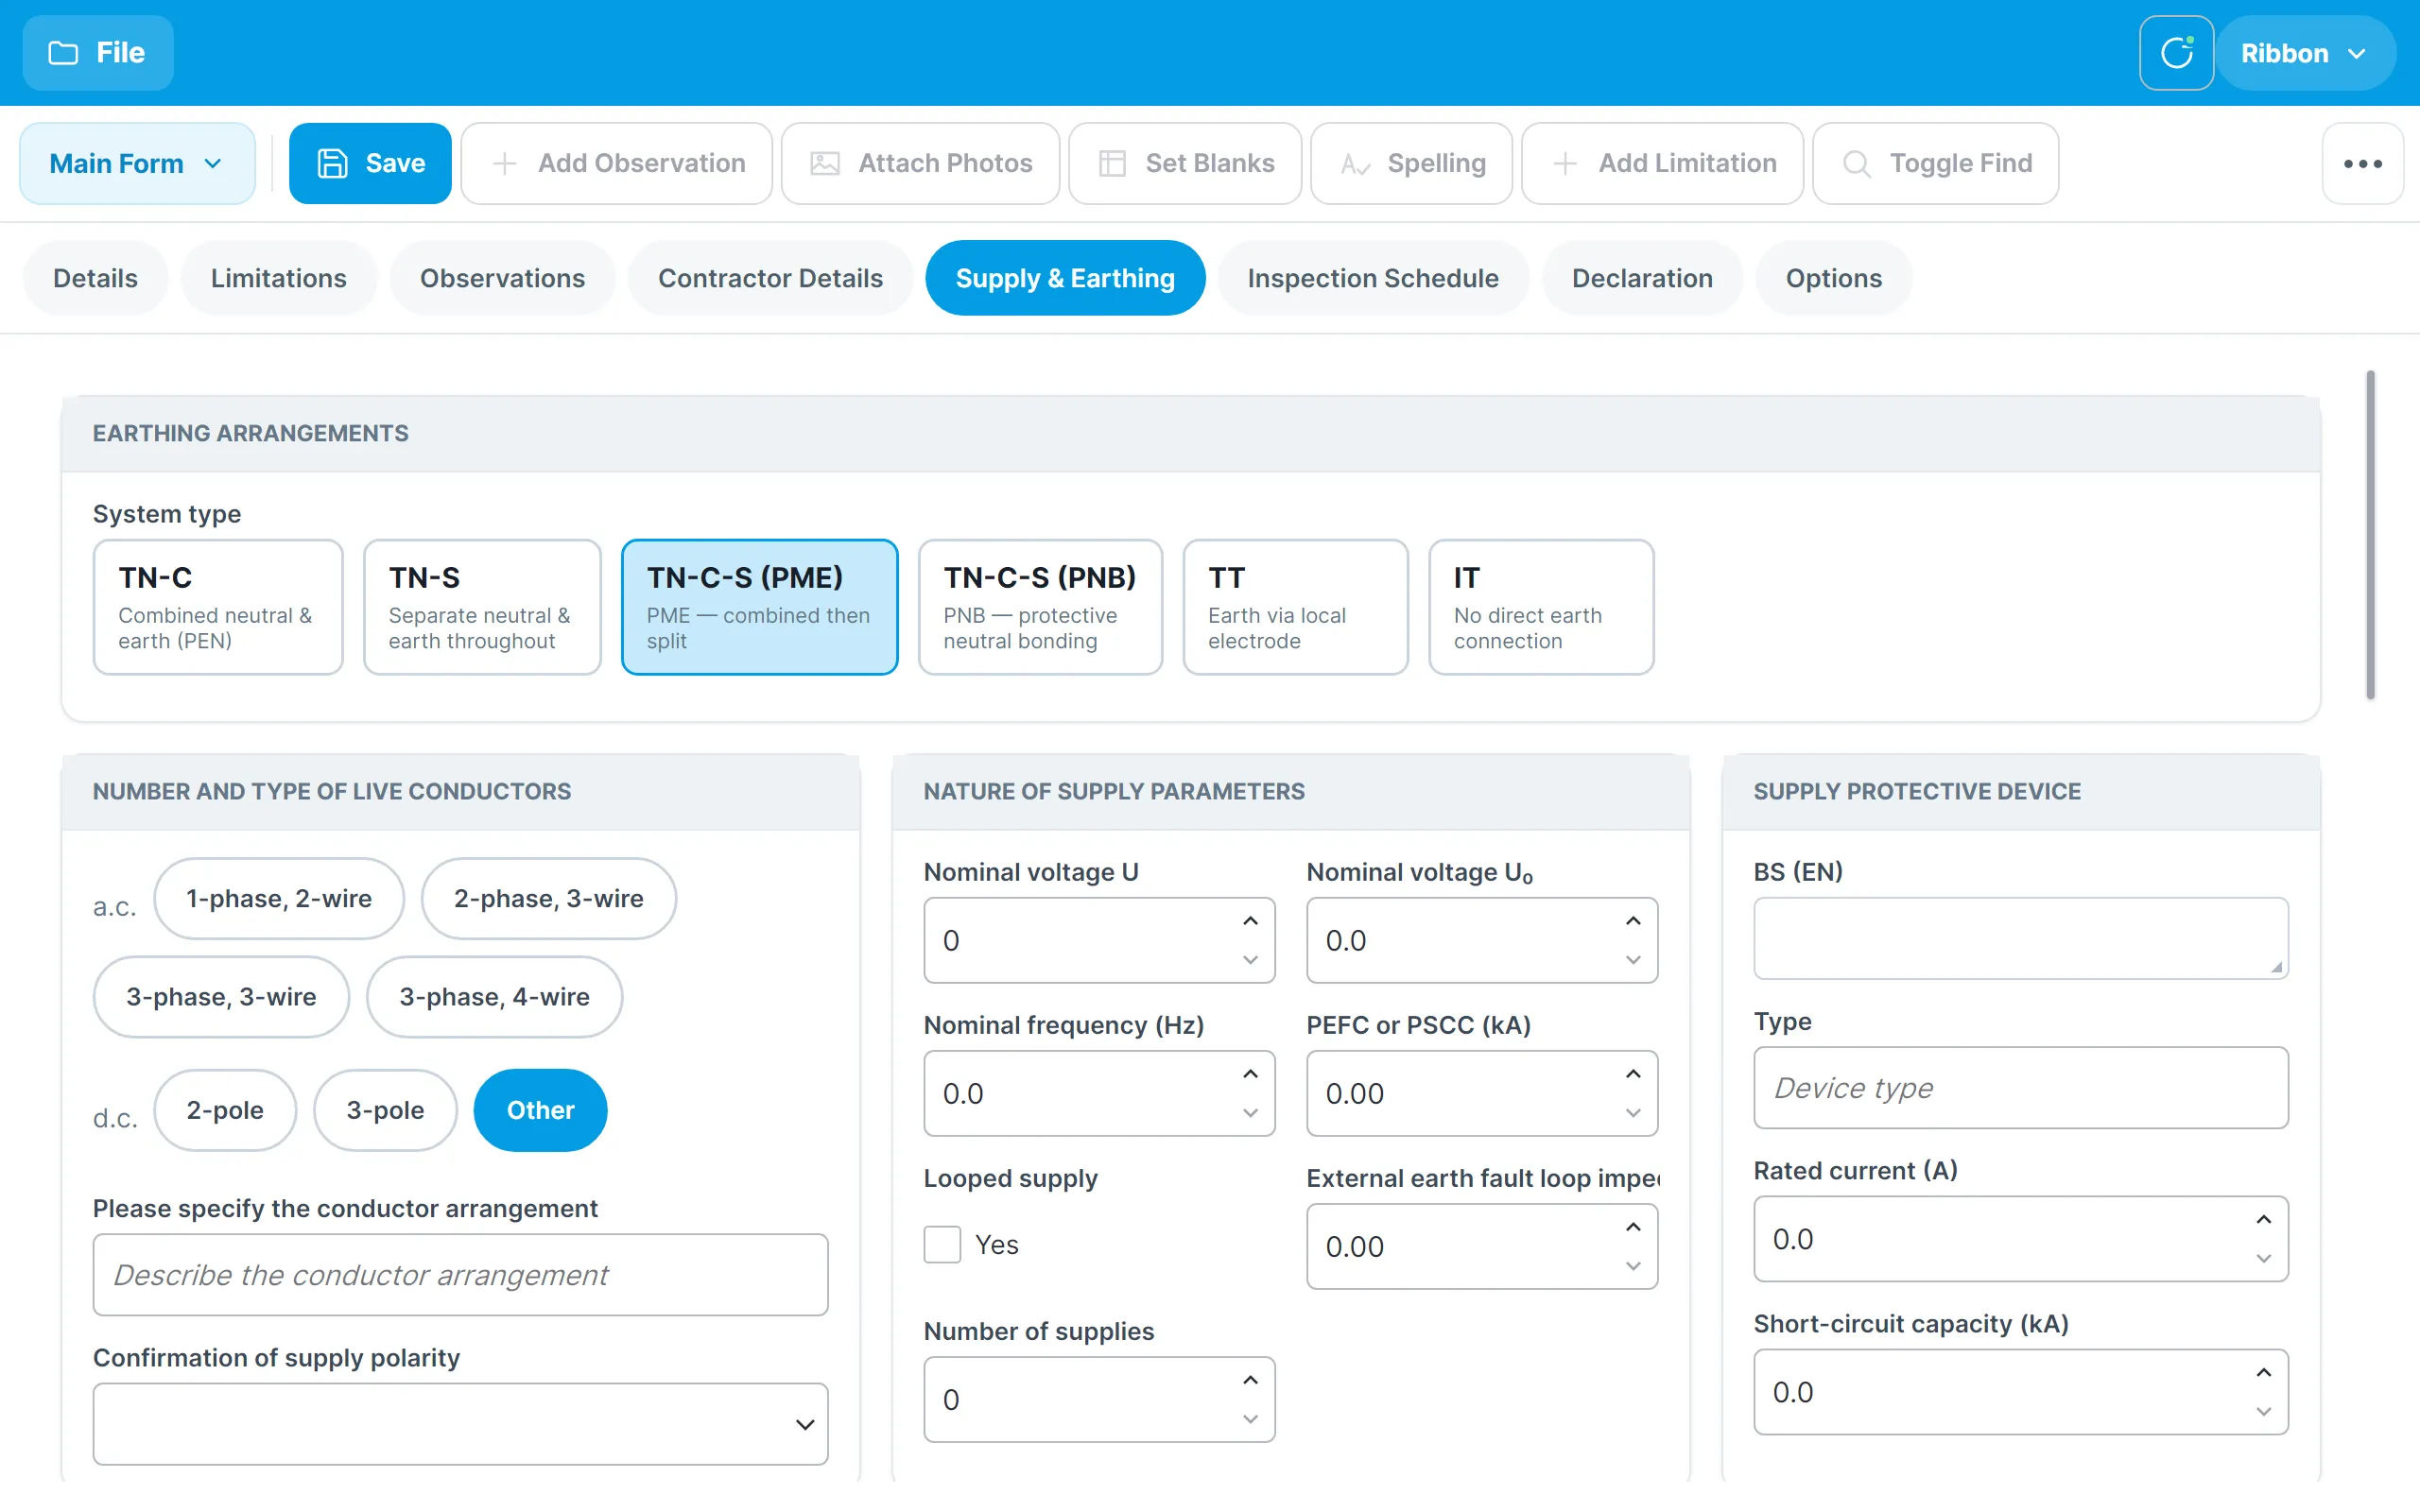
- Earthing arrangements — tap the system type: TN-C, TN-S, TN-C-S (PME), TN-C-S (PNB), TT or IT.
- Number and type of live conductors — tap the a.c. or d.c. arrangement, and confirm the supply polarity.
- Nature of supply parameters — nominal voltage and frequency, the prospective fault current, whether the supply is looped, the external earth fault loop impedance and the number of supplies.
- Supply protective device — the BS (EN), type, rated current and short-circuit capacity of the device at the origin.
- Other sources of supply, the means of earthing and the details of any earth electrode.
- The earthing conductor, the main protective bonding conductors and the bonding of extraneous-conductive-parts — water, gas and oil pipes, structural steel, lightning protection and other incoming services.
Scroll down for the main switch, with panels for the details that apply if it is an overcurrent protective device or an RCD:
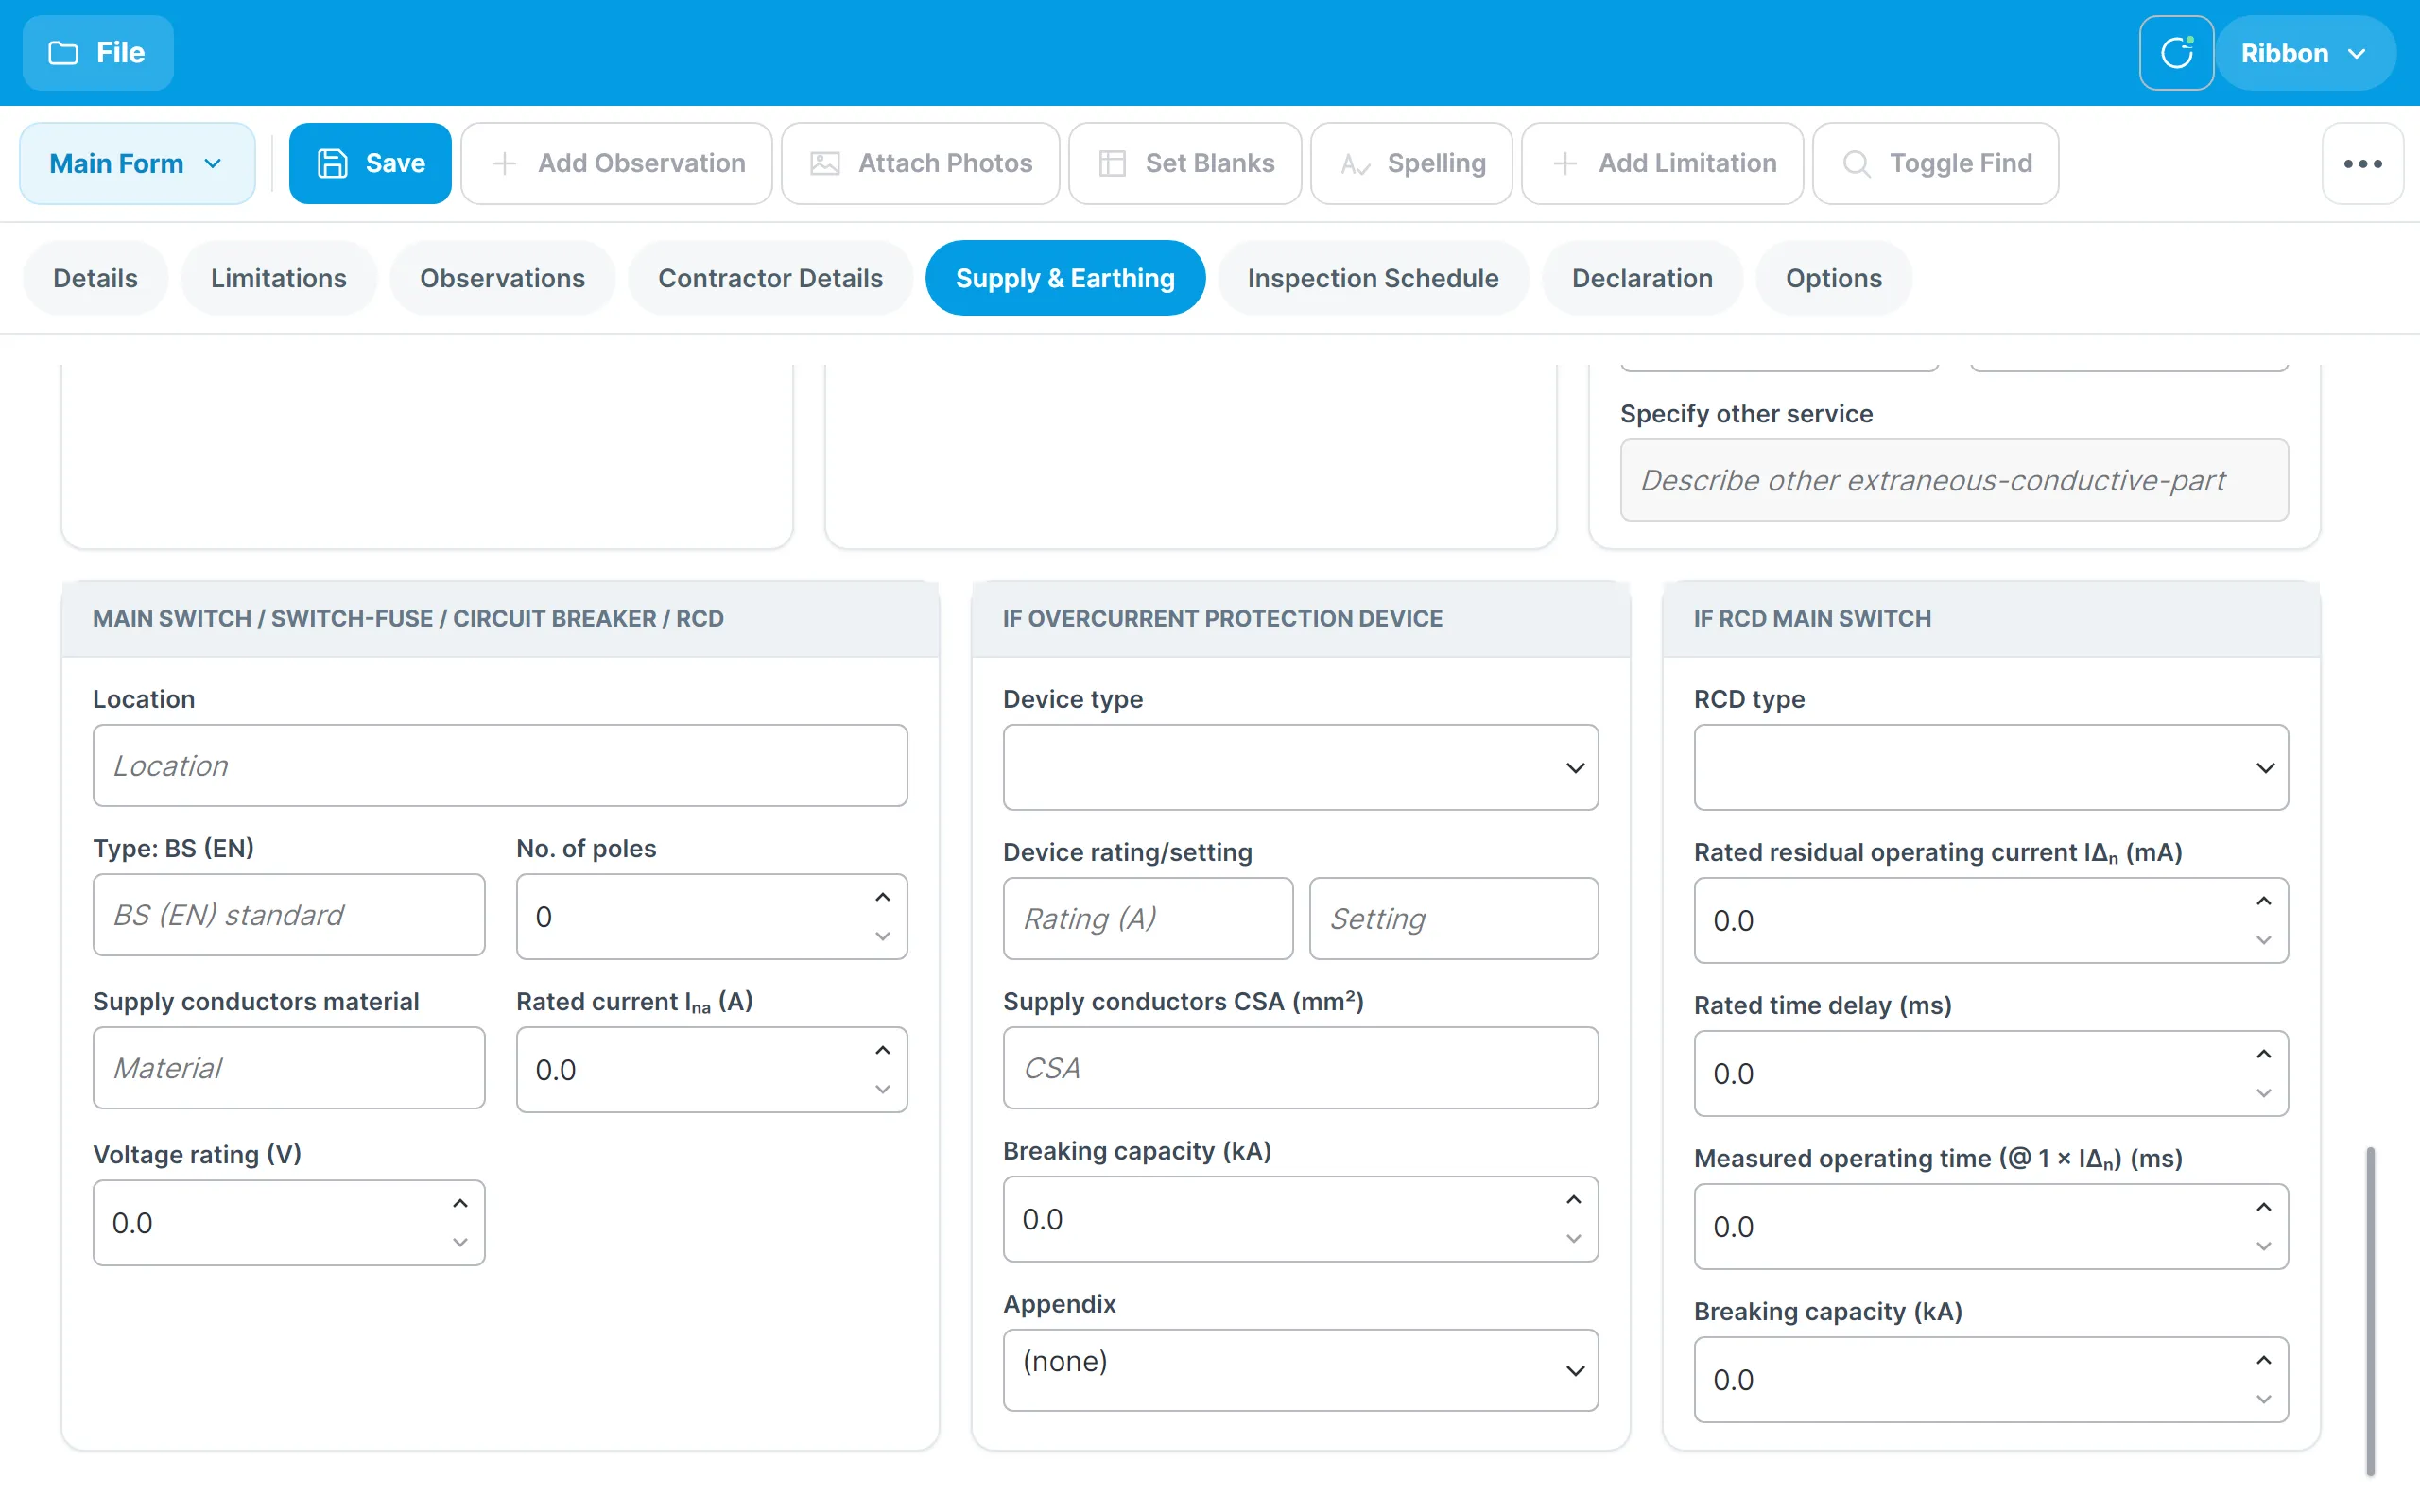
The Appendix selector on the overcurrent device panel links the main switch to one of the certificate’s appendices.
With the tablet held in portrait, or on a narrow screen, the panels stack into a single column so nothing is cut off.
Limitations
The Limitations tab lists the agreed limitations of the inspection.
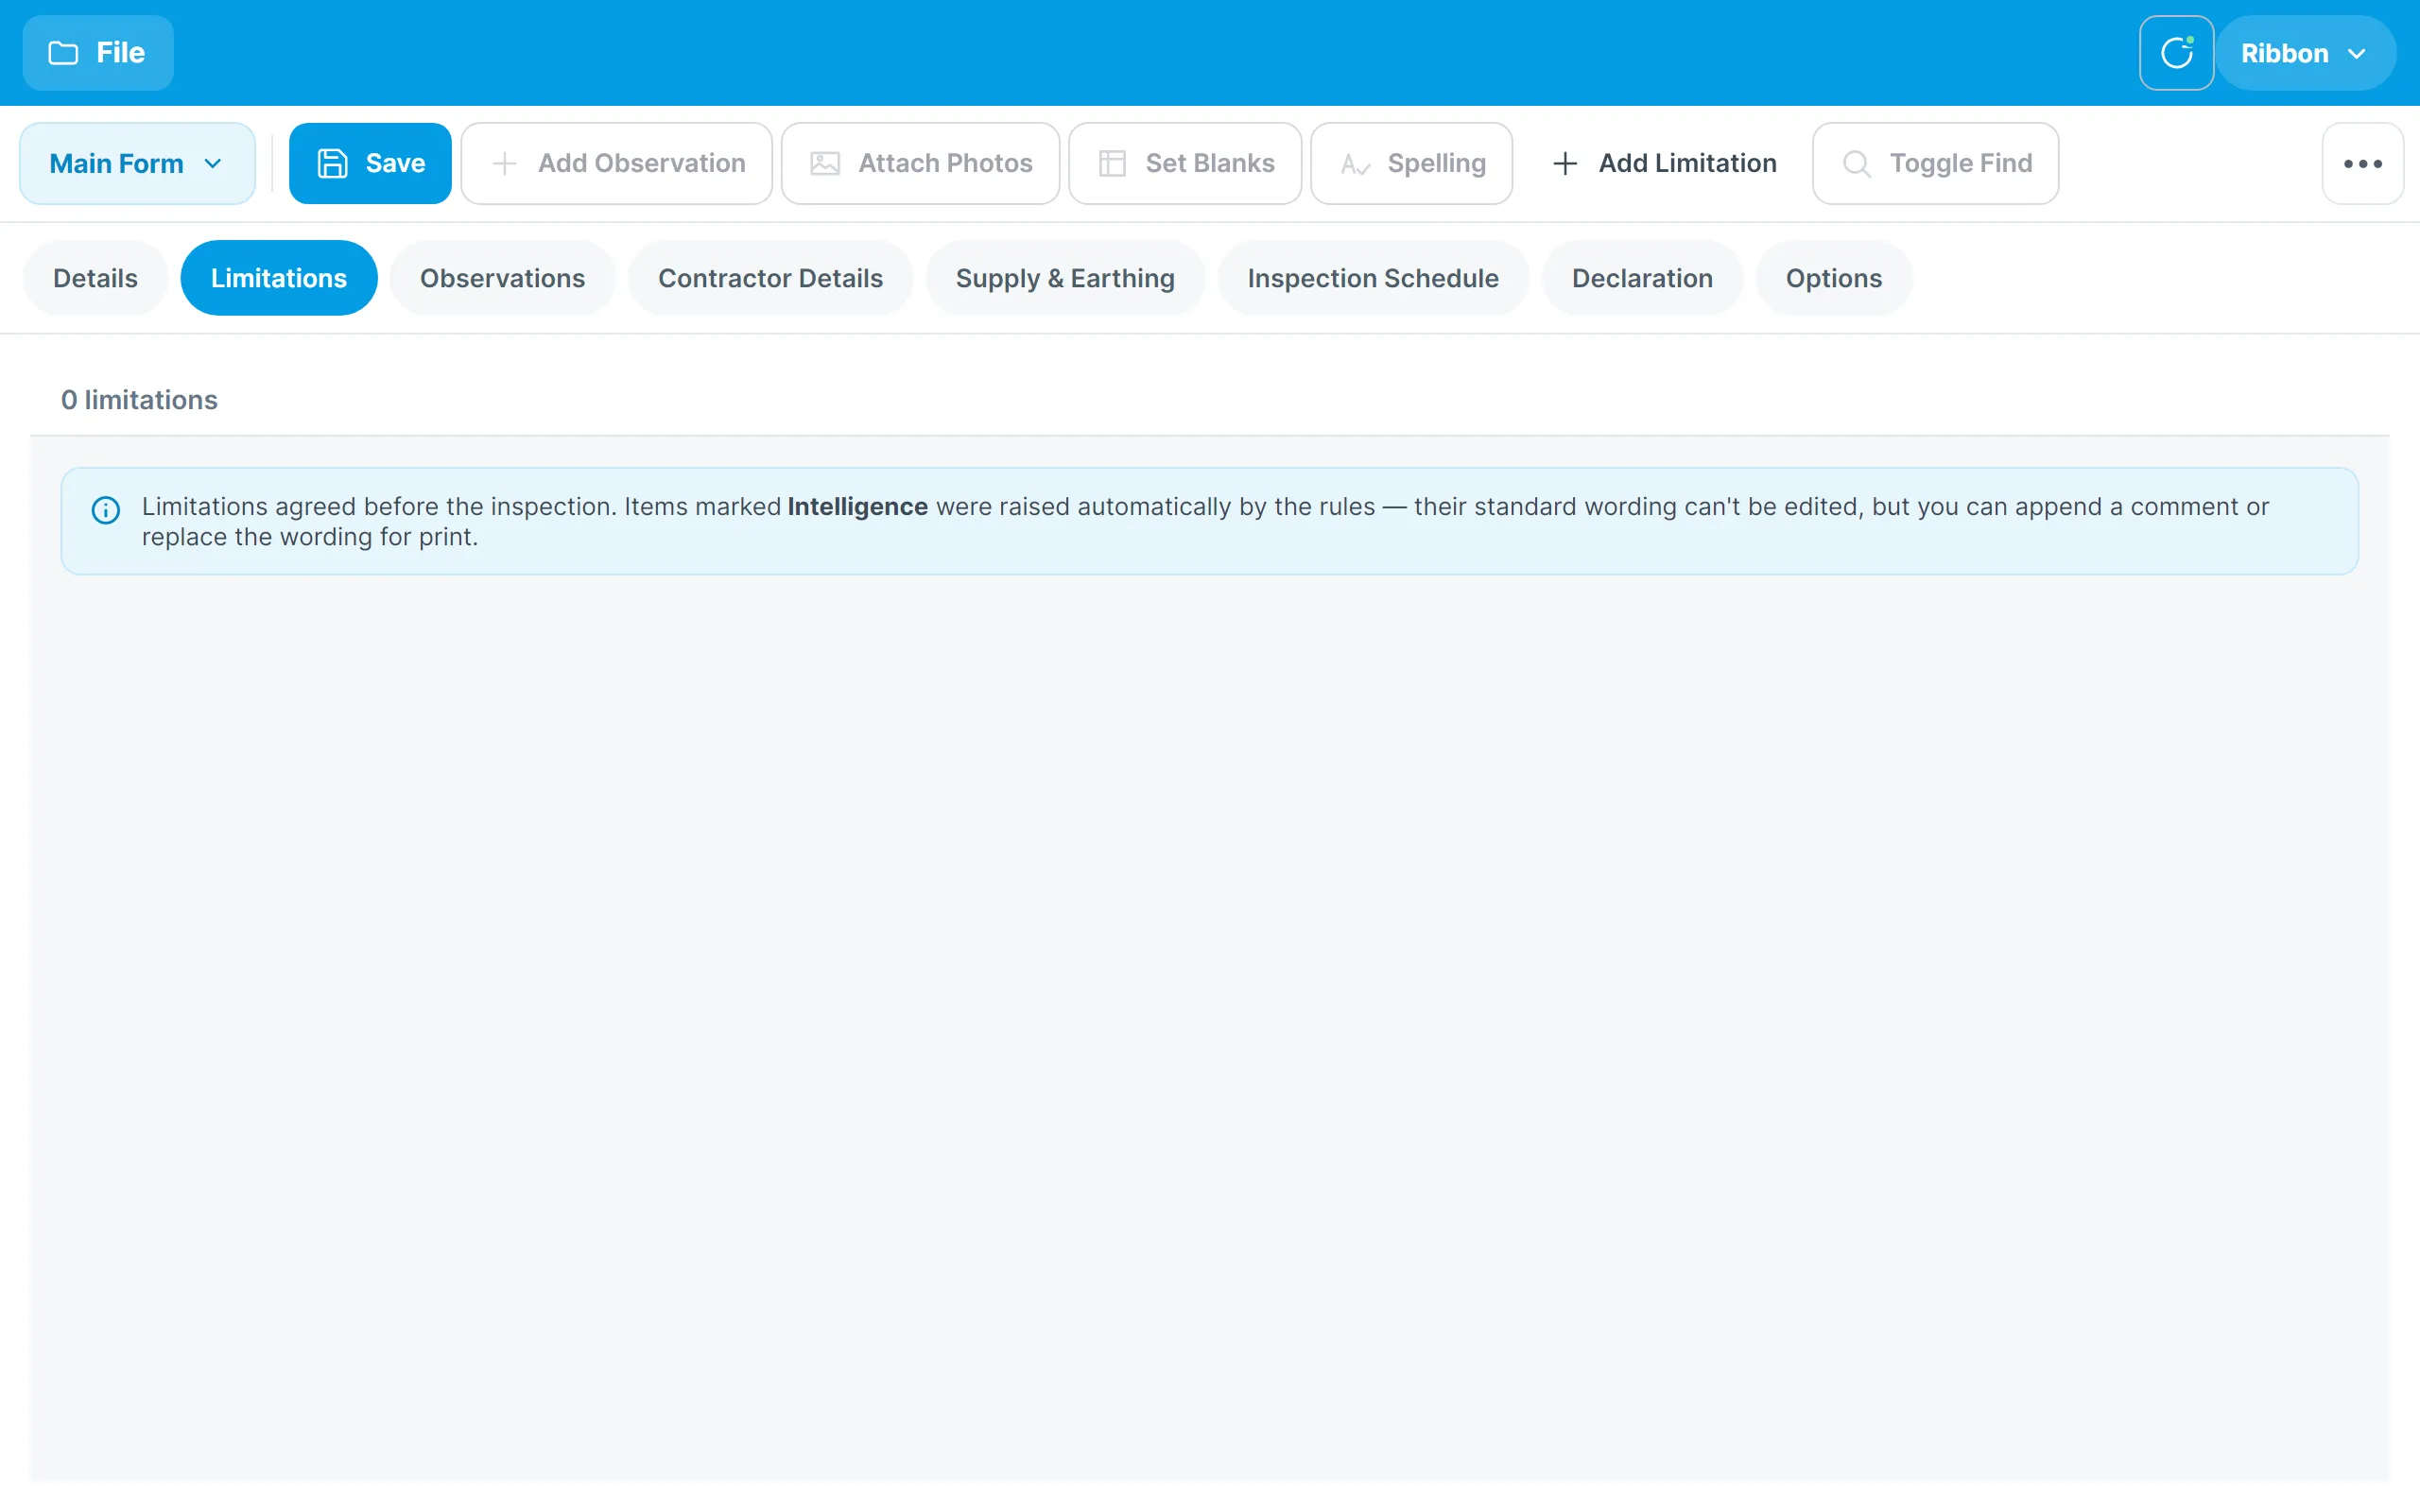
- Tap Add Limitation in the ribbon to add one, then type its wording in the editor and tap Save.
- Tap a limitation to edit it again, or to Delete it.
- Limitations raised for you — by coding an item LIM on the inspection schedule, or by Intelligence — carry standard wording. When you edit one of these you can Use standard, Append comment or Replace for print, and the editor shows exactly what will print on the certificate.
Declaration
The Declaration tab is where the report is summed up and signed off.
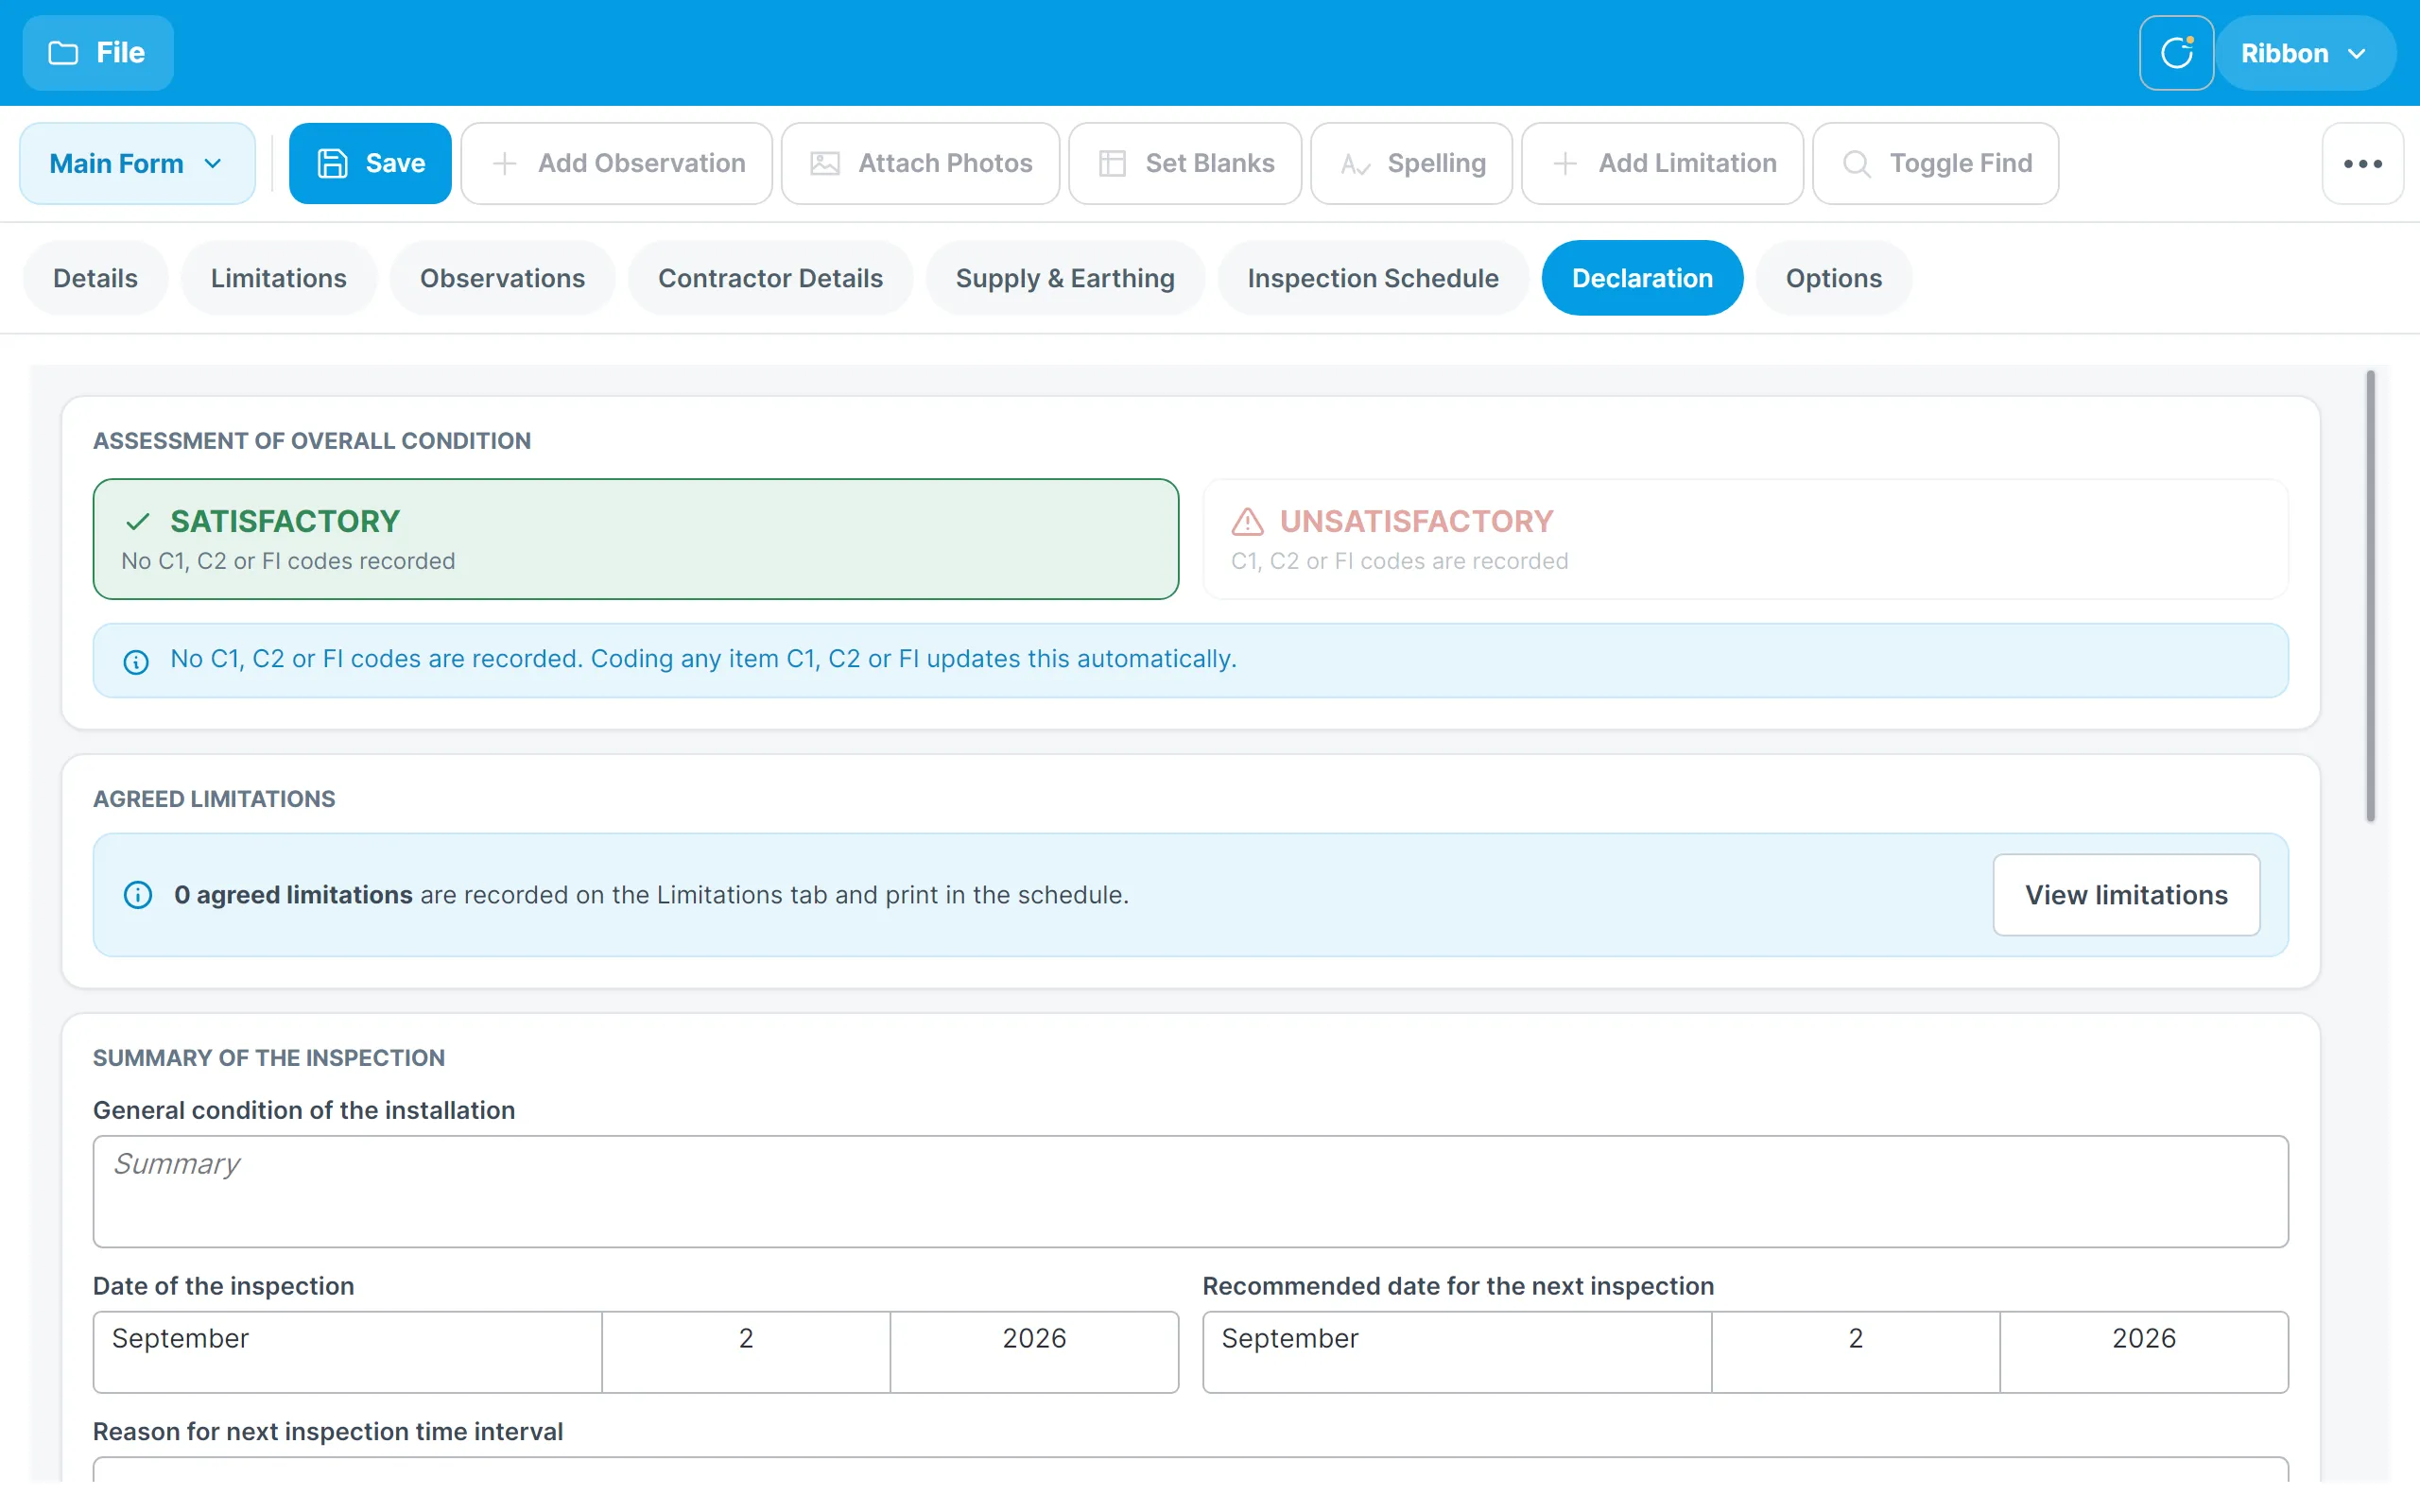
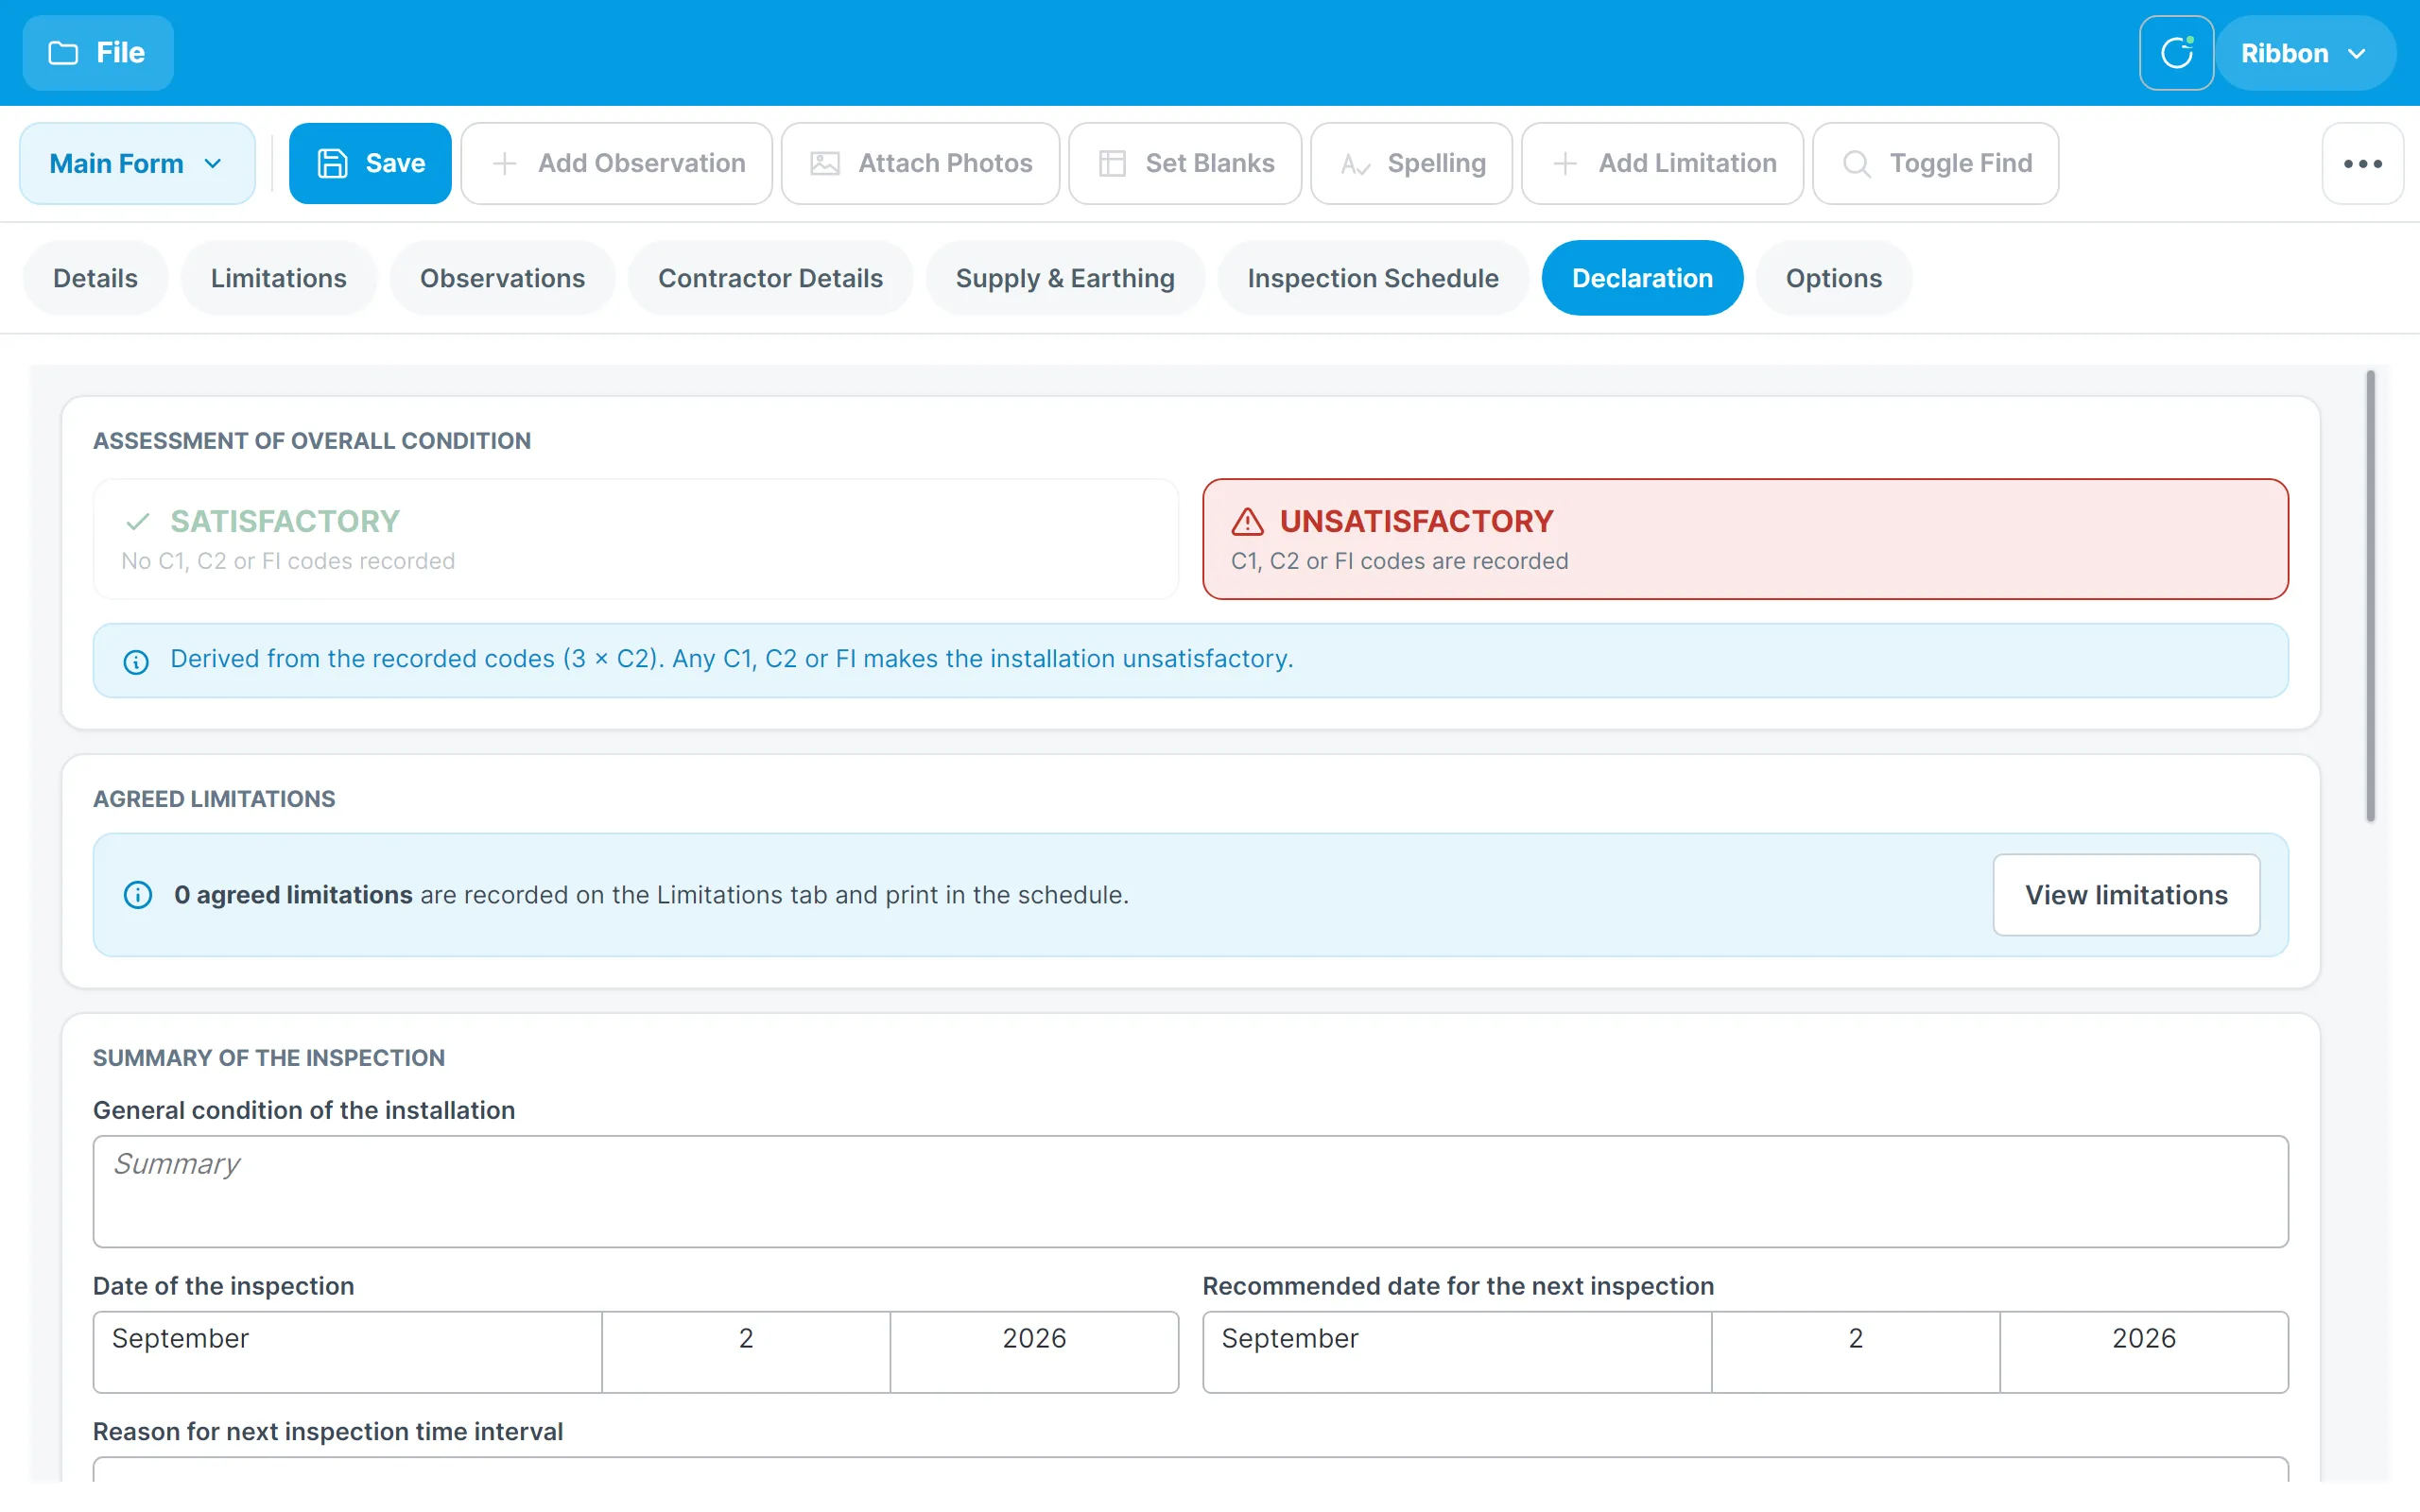
- Assessment of overall condition is worked out for you: the installation is Unsatisfactory as soon as any C1, C2 or FI code is recorded anywhere in the certificate, and Satisfactory otherwise. The note under the two options explains which codes were counted. If this disagrees with the items affecting safety choice on the Observations tab, a warning asks you to review it before printing.
- Agreed limitations shows how many limitations are recorded and links to the Limitations tab.
- Summary of the inspection records the general condition of the installation, the date of the inspection, the recommended date for the next inspection and the reason for that interval.
- Inspected & tested by and Qualified supervisor / authorisation record the names, positions and dates for the engineer who did the work and the person who reviewed it. The company name and enrolment number are taken from the Contractor Details tab. Tick Completed when the certificate is finished.
Signature capture on the tablet, and the scheme and registration fields, are coming in a later update.
Options
The Options tab holds settings for this certificate only:
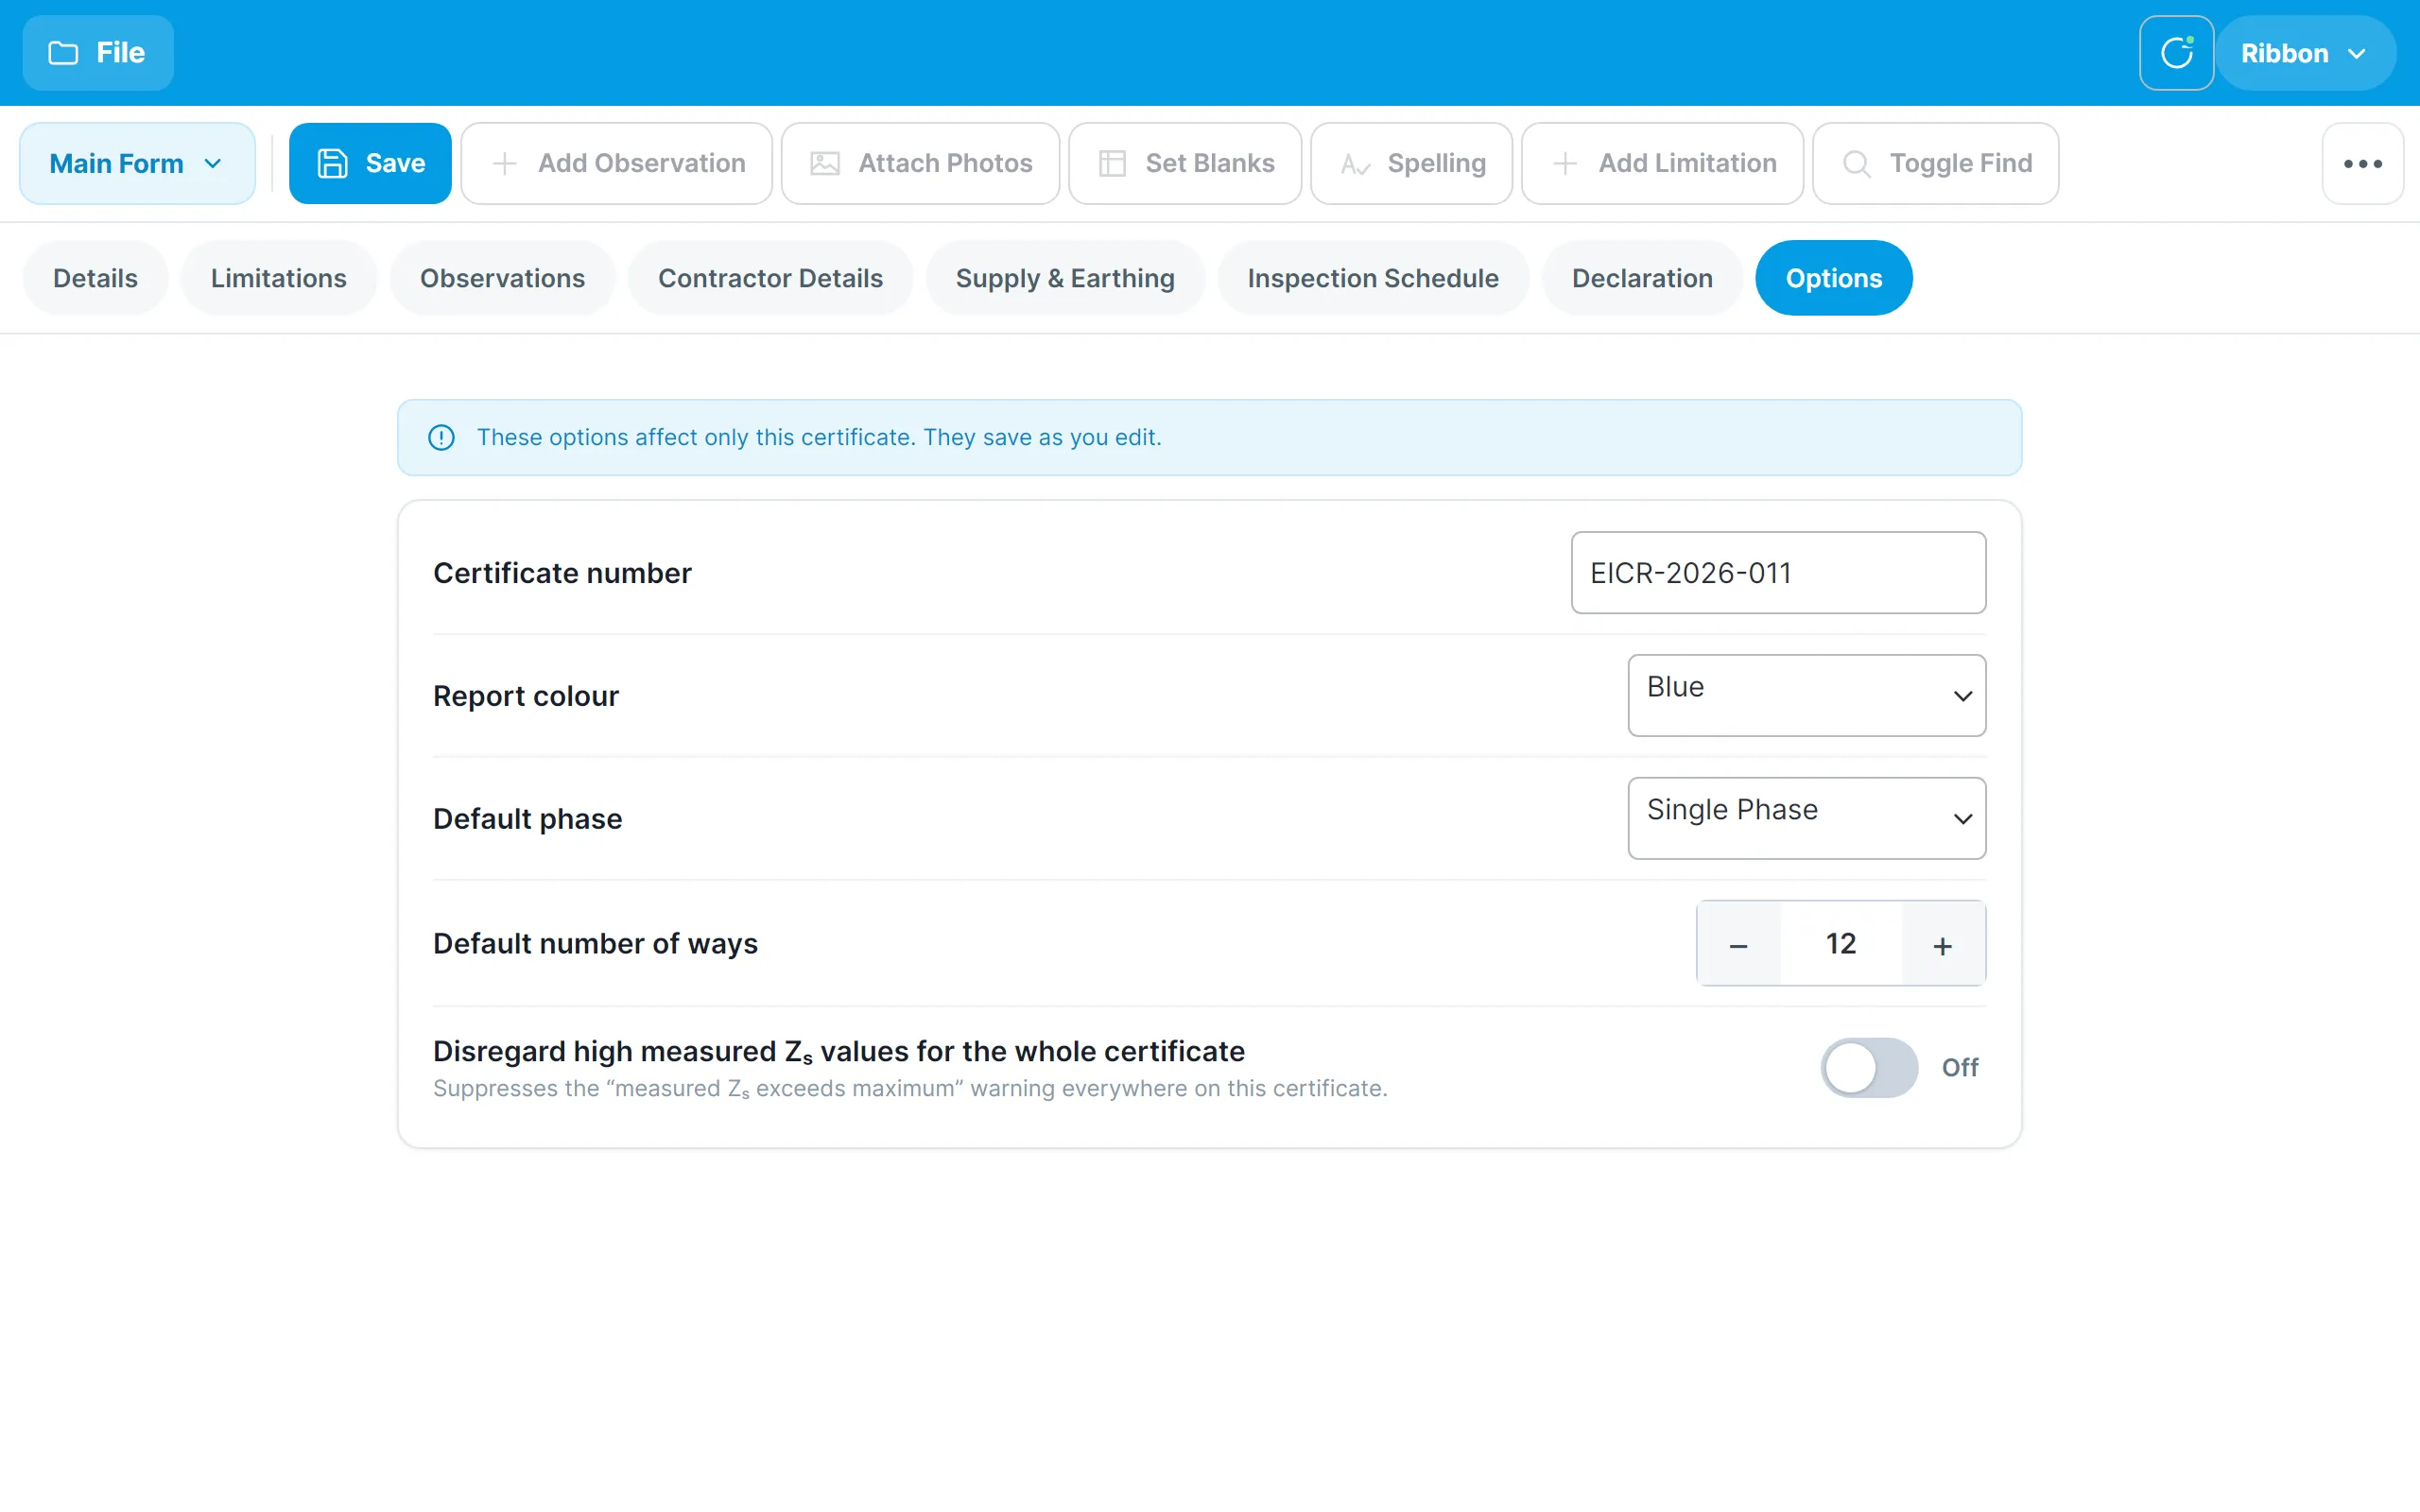
- The certificate number.
- The report colour used when the PDF is produced: blue, green, purple or red.
- The default phase and default number of ways for new boards added to this certificate.
- Disregard high measured Zs values for the whole certificate, which suppresses the measured Zs exceeds maximum warning everywhere on this certificate.
The app-wide settings are under File → Options instead; see Settings and support.