
We highly recommend using an online storage and sharing facility such as Dropbox or OneDrive. Read more here
The certificate sharing features let you export your certificates to a file and import other engineer’s work into your copy of Shine Forms. This means more then one engineer can work together on the same certificates. Common scenrios are:
- Jobs with more than one engineer.
- Getting your work reviewed by another engineer.
The export files are:
- Small and self-contained.
- Easy to share by email, Dropbox, OneDrive, Google Drive or using your own network.
- Carry the details of the engineer even if they are outside of your company.
You can export more than one certificate at a time, but generally it is best to export one at a time.
Certificate sharing videos
Watch the certificate sharing features in action in the following video.
Find other videos about Shine Forms on our YouTube Channel.
Read on for more information about importing files or folders.
Importing certificates
We highly recommend using an online storage and sharing facility such as Dropbox or OneDrive. Read more here
There are two ways to import certificates into Shine Forms:
- Import from a Shine Forms export file.
- Import from a folder containing Shine Forms export files.
Importing from a file
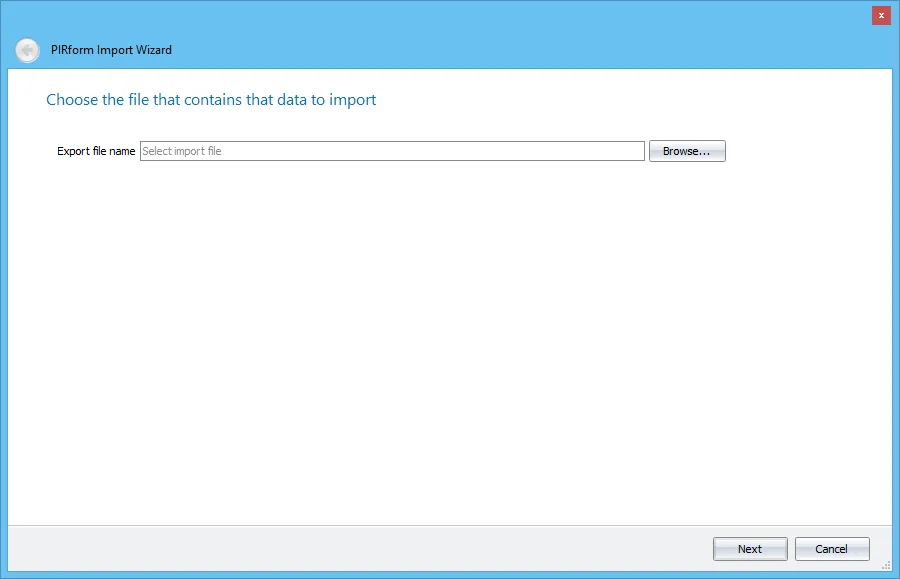
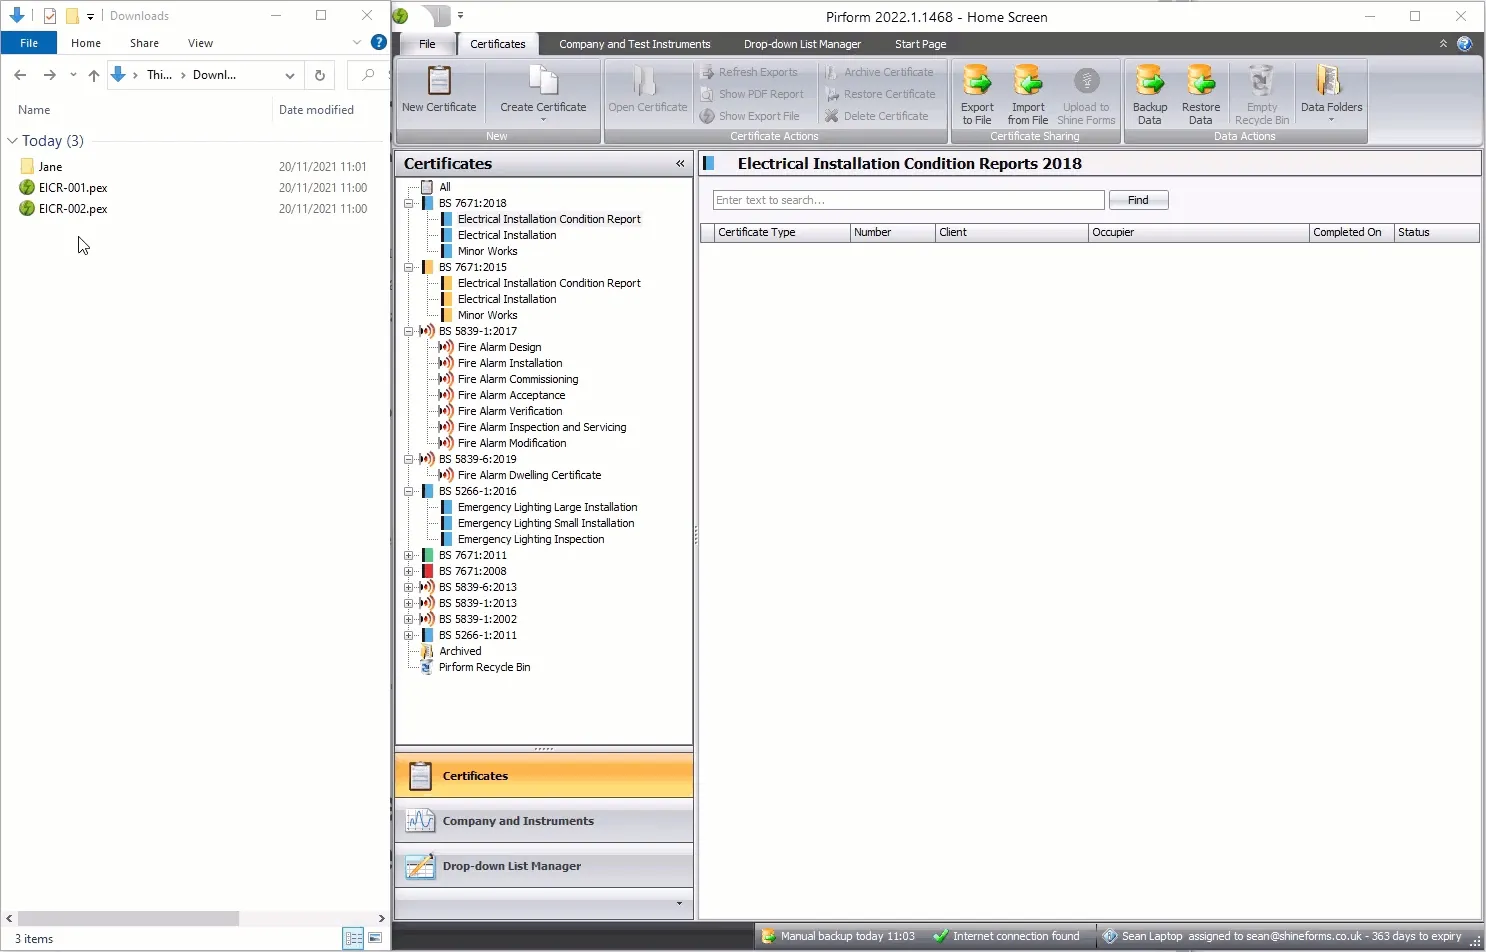
To import a certificates from a single export file click Import from File in the Home Screen.

This will open the Shine Forms Import Wizard. Click Browse to select the export file that contains the certificate you want to import, then click Next when you have done that.
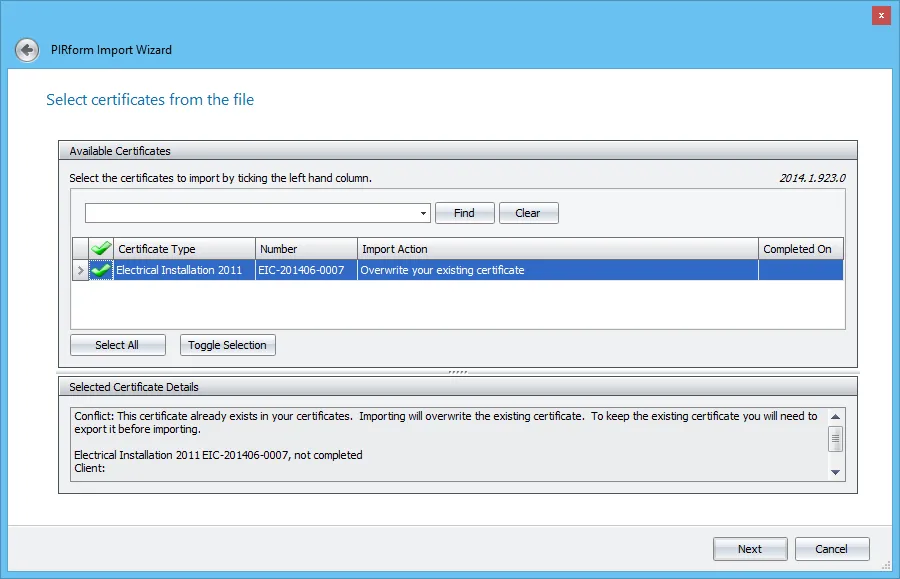
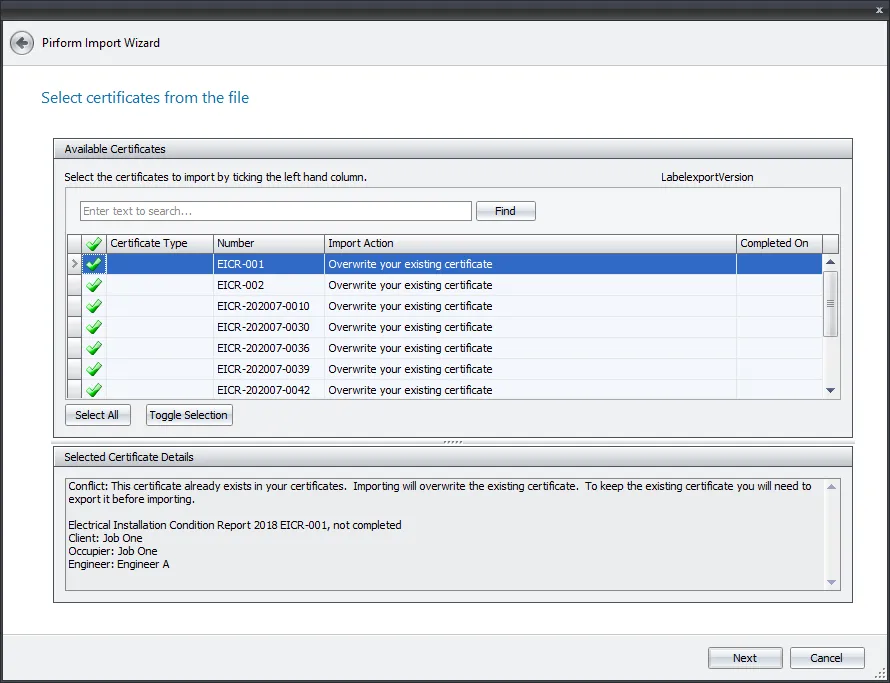
Shine Forms will ask which certificate(s) you want to import from the file. If the certificate already exists in your copy of Shine Forms, the existing copy will be overwritten during the import. Shine Forms warns you of this and asks you to confirmbefore proceeding with the import. Click Next to proceed.
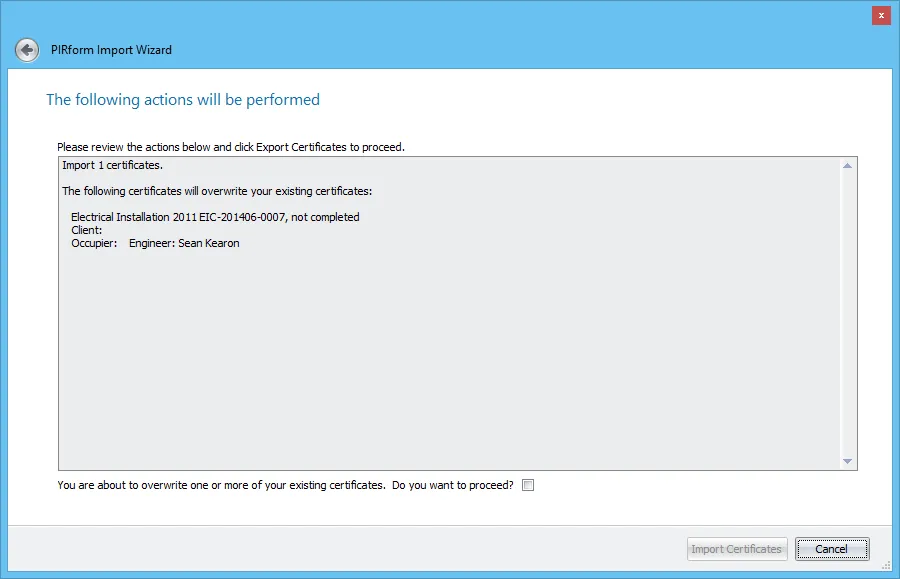
The next screen lets you review the certificates that you are about to import. Click Import Certificates to proceed.

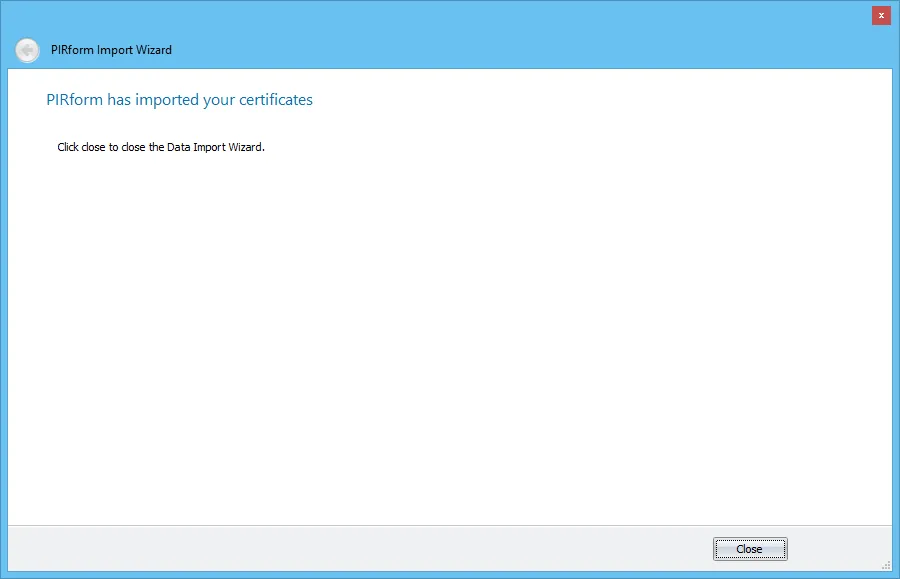
After Shine Forms has imported the certificates, click Close to finish.
Importing certificates using drag and drop
You can also start the import process by just dragging Shine Forms export files or folders that contain Shine Forms export files from Windows and drop them onto the certificates list on the Home Screen.
Importing from a folder
To import certificates from export files in a folder, open the Shine Forms Import Wizard by clicking Import from File in the Home Screen:
Then tick the box Import from folder:
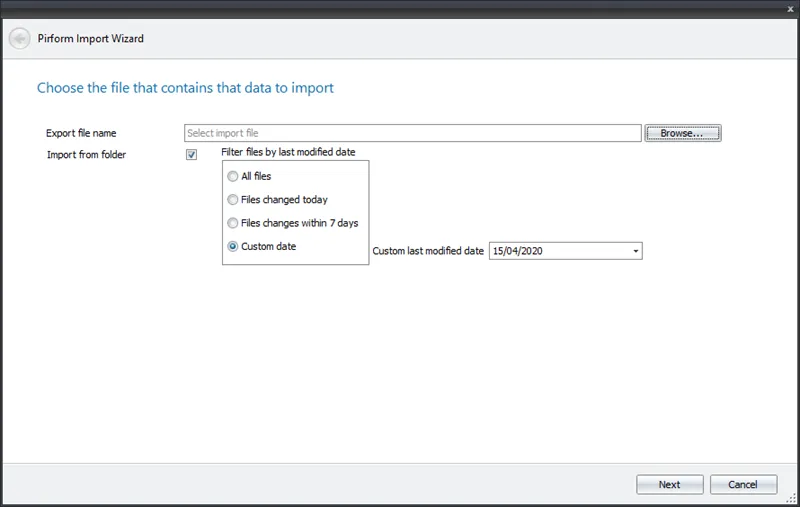
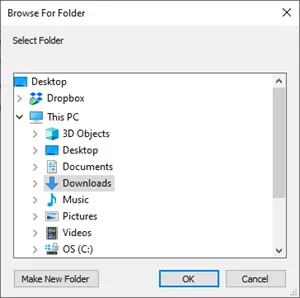
Then, click Browse and select the folder that holds the files you want to import from.
If there folders inside the folder you select then Shine Forms will find and include any export files from those folders too.
Then click Next and you will be presented with a list of the certificates that Shine Forms has found and you can select the ones you wish to import:
Filtering by modified date
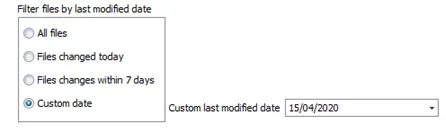
When importing from a folder, Shine Forms gives you the option to select only the export files that have been modified since a particular date.
This is particularly useful if you are receiving work from engineers on site and using Shine Forms’ merge feature to bring this work into a main certificate for issue.
Shine Forms uses the date the file was last modifed and not the date that the file was created. This makes it easy to find export files that may have been updated by the engineer, especially when importing from the engineer’s auto-export folder in Dropbox or OneDrive.
The default option is to import from all the files under the selected folder. You can also choose files that have been modified today, within the last 7 days or since a date of your choosing.
Exporting certificates
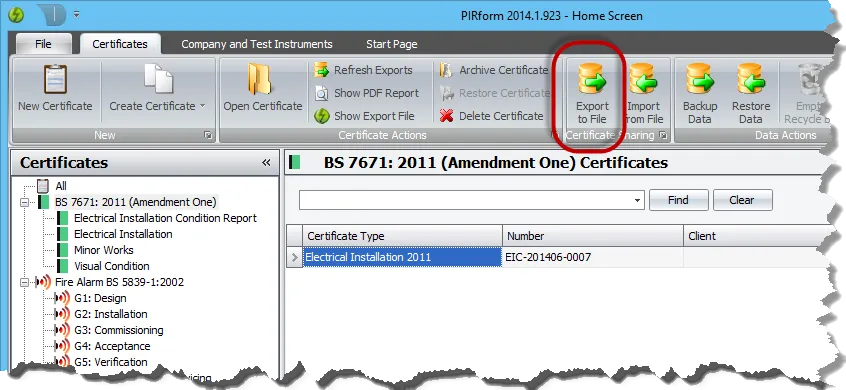
Select the certificate in the Home Screen and then click Export to File:
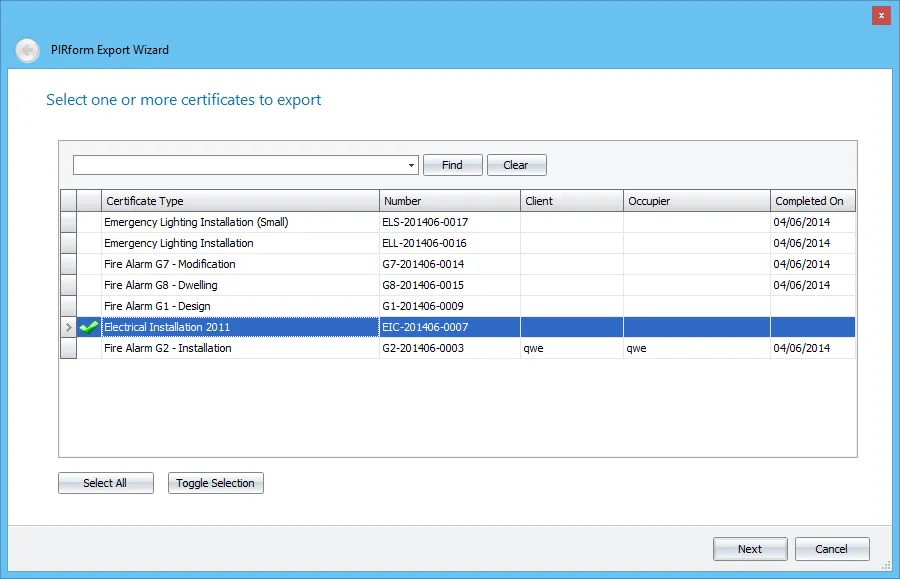
This will open the Shine Forms Export Wizard. Check that the certificate(s) you want to export are selected and click Next to proceed.
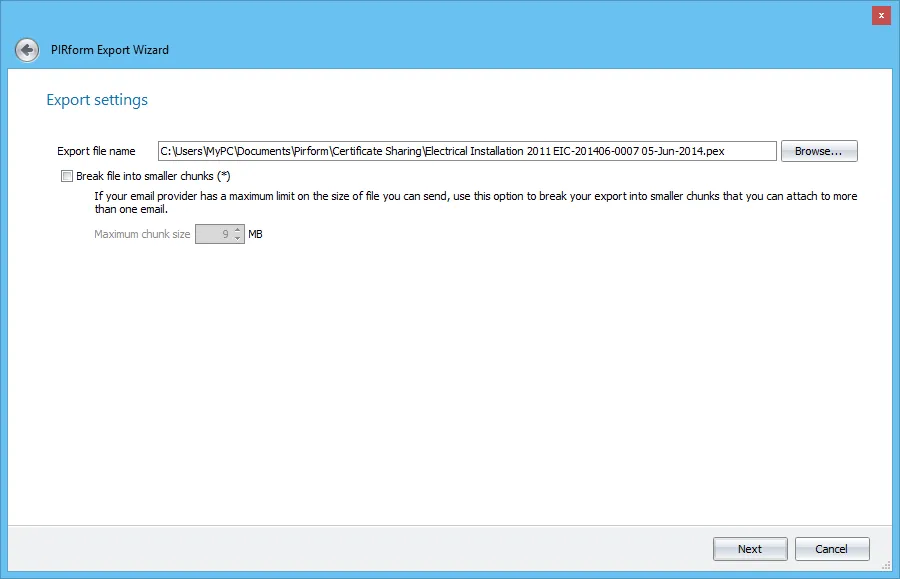
By default Shine Forms will name the export file using the certificate type, certificate number and the date and will save the file in the certificate sharing location you have set in the program. You can change where the file is saved and how it is named if you need to.
In case you are exporting a large number of certificates and need to break the export file into smaller chunks so they can be emailed, you can do that from this screen as well.
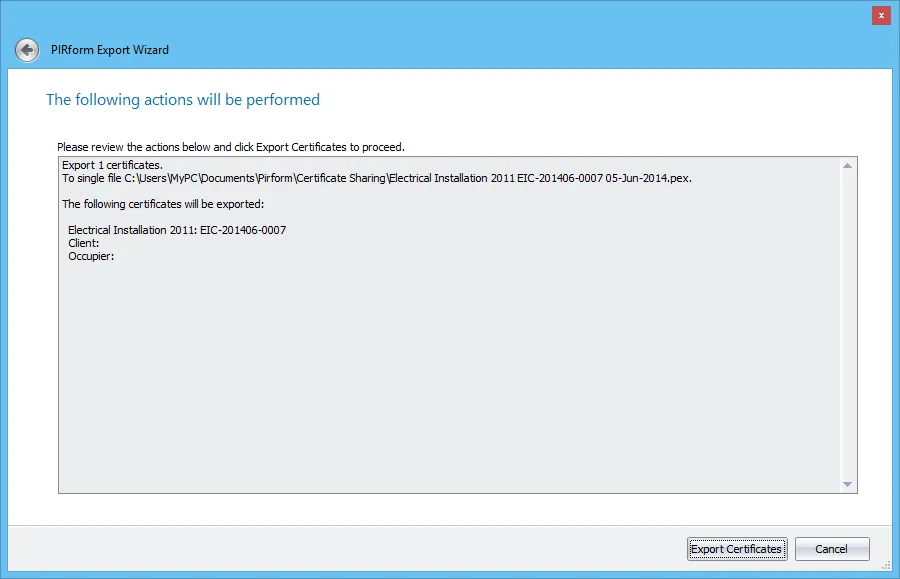
The next screen will show you the actions you’re about to perform. Review these and click Export Certificates to export the certificate(s) to the chosen file.
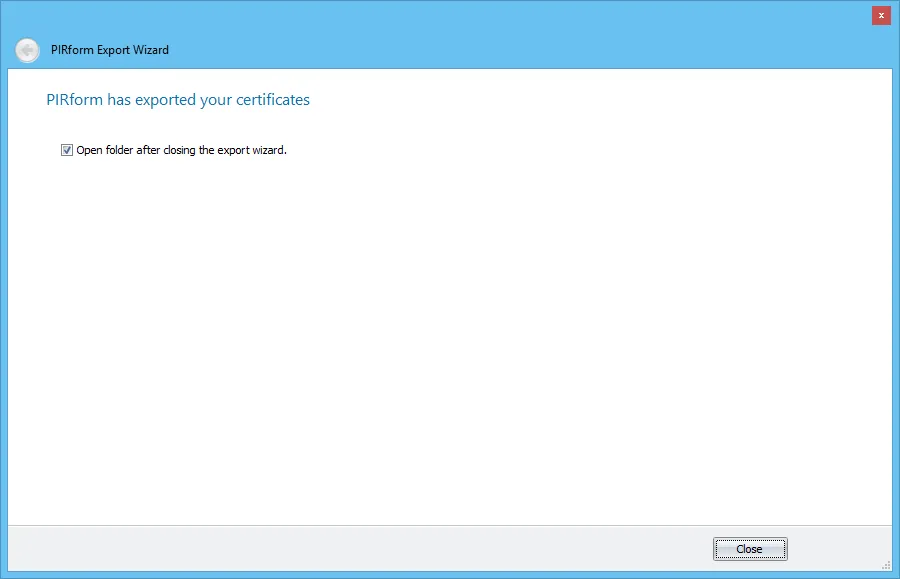
After Shine Forms has exported the certificates, click Close to finish. Shine Forms will open the folder that contains the exported file for you and will select that file.
Automatic exports
Shine Forms automatically generates both an export file and a PDF each time you close the certificate after saving any changes. You can adjust the location where these are saved from Shine Forms Options
We highly recommend using an online storage and sharing facility such as Dropbox or OneDrive. Read more here
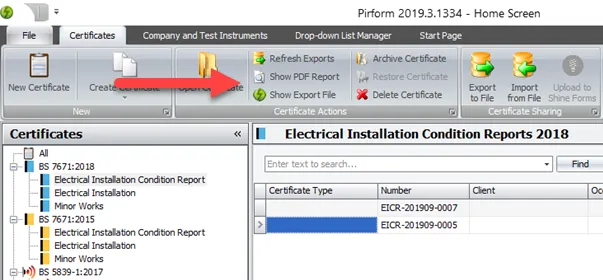
When you select a certificate in the Home Screen then you can quickly access the most recent export file and PDF by clicking Show Export File and Show PDF Report in the ribbon.
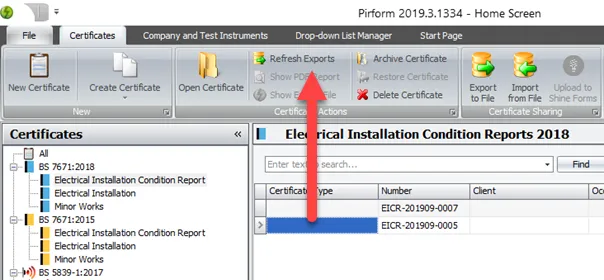
If those appear disabled then you can easily regenerate an export file and a PDF file by clicking Refresh Exports.
Automatic exports used with online storage means the latest PDF is always available on devices that don’t have Shine Forms installed. Read more here